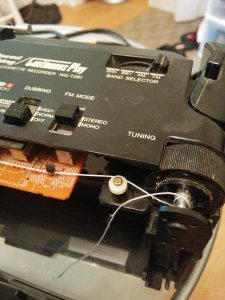
If you can find a copy of the service manual, then replacing the dial cord will be covered in there, with a stringing diagram that shows you how many turns the cord takes around each pulley and the direction (top to bottom or bottom to top, clockwise or acw) in which that cord runs on that pulley. However, it's actually really simple to work out the route for yourself, do this as follows:
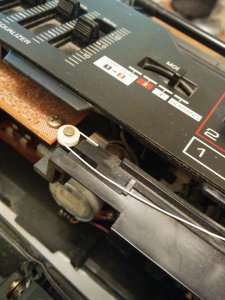
Remove the old cord and lay the pieces of it out so that you can measure the length, taking care to mark the exact position at which the cursor is attached to the cord in order to preserve the calibration. Measure the depth of each pulley and divide that by the external diameter of the (original) cord. Measure the height of each intermediate pulley (the ones that are there to route the cord without taking it up or down the way, these have one V groove rather than a crown (barrel-shaped) land), this measurement will tell you which way the cord enters and exits the pulley that has multiple coils of cord around it and also which direction the cord runs on that pulley. Doing this will get you close enough to the correct route that any final adjustments will amount to the odd coil here and there. You'll know when it's right because the dial cursor will then run the full sweep of the tuning scale and the springs at the anchored ends of the cord will be only slightly stretched, neither slack nor fully stretched.
Someone who hasn't done this before should allow a few hours (not all in one hit or you risk becoming frustrated with the thing) but the satisfaction is immense when you get it right and it all works!
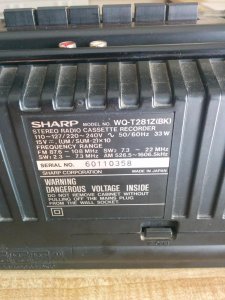
Also, the same tuner head and scale are sure to have been used in more than this one model so if you don't fancy the mystery string puzzle route and can't find the exact manual for your model, another Sharp enthusiast may recognise which other models share the tuner parts.
I've found that most people with an affinity for physical quizzles such as Rubik's cube and Mousetrap can generally pick up the technique for restringing pretty easily.


")

")