I was waiting for working on my GF9696 to replace the top panel I got from Jeff (Ghettoboom767, Love you bro, thank you so much! ) and also cassette door from him. The last time when I was trying to fix the cassette I ran into issues with getting the right size tube to replace the rubber that made a mess on the capstan axle. This rubber sleeve on the capstan make contact with the drive wheel and functions as the main drive of this boombox.
Basically a rubber sleeve hidden between the two bush bearings exposed through a cut serves the function well except for the longevity of rubber used in the 80s. The rubber sleeve shows up through a cut in the axle assembly to engage with the drive wheel.
Years back I slipped the weather proof insulation of an electric wire to replace the messed up rubber wheel on the capstan. The interior was non uniform on these wire insulations so it gave the drive wheel a bumpy ride, but didn’t afffect much on the tape play function.
Today I went through my RC Gasoline engine car, RC plane toolbox and accessories to look for any tubes that I can slip on the capstan for this need.
It was such a lucky day! I found a tube that was a perfect fit for this need. Also I found all replacement belts for the boombox from my previous orders of belts from studio electronics.
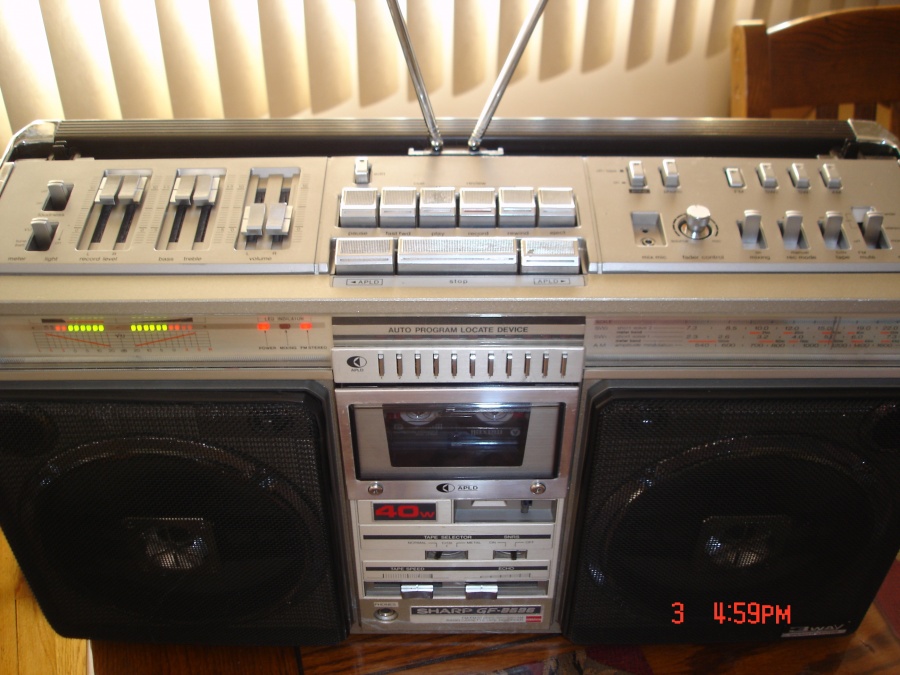
Now I am enjoying my Sharp 9696 which is one of the best boomboxes ever made!
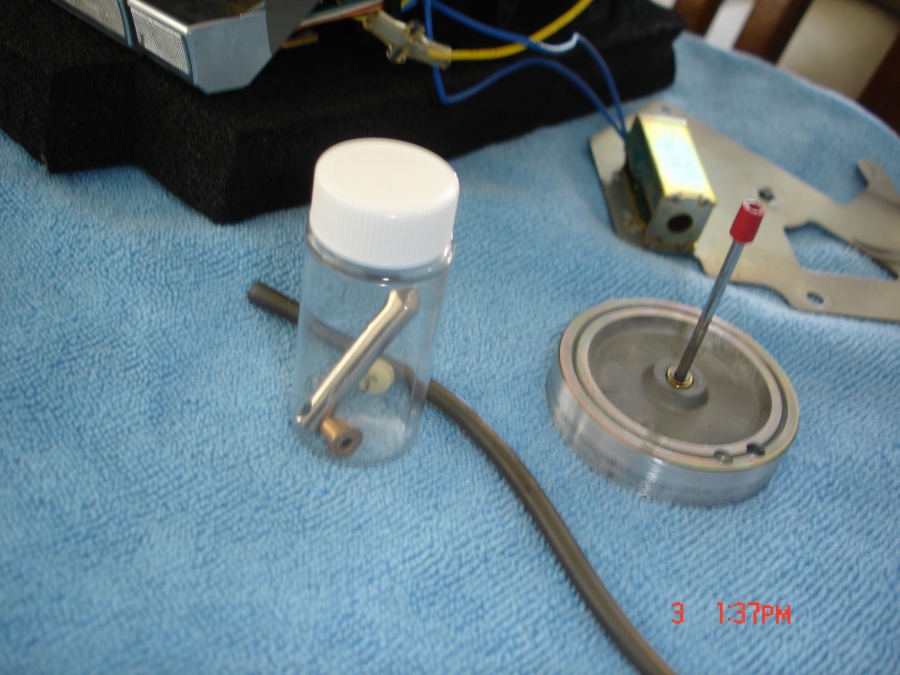
The length of the tube on the capstan axle is 24mm. We need a 14mm tube length for this need. Longer tube lengths gives more area of contact on teh capstan to give a better hold to it. The final adjustments can be easily done by pulling the flywheel slightly back to move the tube to the front end for better contact with the drive wheel after the bearing behind (next to the flywheel) the flywheel is mounted well.
The bearing close to the flywheel is lubricated first before the tube is slipped in. After the flywheel assemblies with the bearing are all slipped in, lubricate the outside bearing that one see from the cassette side. I used high temp white silicon grease for the bearings.
The red sleeve in the picture is the one I used before for this need. It became so handy to make measurements and not to lose the teflon fwasher next to the flywheel.


Basically a rubber sleeve hidden between the two bush bearings exposed through a cut serves the function well except for the longevity of rubber used in the 80s. The rubber sleeve shows up through a cut in the axle assembly to engage with the drive wheel.
Years back I slipped the weather proof insulation of an electric wire to replace the messed up rubber wheel on the capstan. The interior was non uniform on these wire insulations so it gave the drive wheel a bumpy ride, but didn’t afffect much on the tape play function.
Today I went through my RC Gasoline engine car, RC plane toolbox and accessories to look for any tubes that I can slip on the capstan for this need.
It was such a lucky day! I found a tube that was a perfect fit for this need. Also I found all replacement belts for the boombox from my previous orders of belts from studio electronics.
Now I am enjoying my Sharp 9696 which is one of the best boomboxes ever made!
The length of the tube on the capstan axle is 24mm. We need a 14mm tube length for this need. Longer tube lengths gives more area of contact on teh capstan to give a better hold to it. The final adjustments can be easily done by pulling the flywheel slightly back to move the tube to the front end for better contact with the drive wheel after the bearing behind (next to the flywheel) the flywheel is mounted well.
The bearing close to the flywheel is lubricated first before the tube is slipped in. After the flywheel assemblies with the bearing are all slipped in, lubricate the outside bearing that one see from the cassette side. I used high temp white silicon grease for the bearings.
The red sleeve in the picture is the one I used before for this need. It became so handy to make measurements and not to lose the teflon fwasher next to the flywheel.


")
")


 great job on the restore job. Jeff definitely has come through to get lots of these 9696's back to original, totally awesome