So...
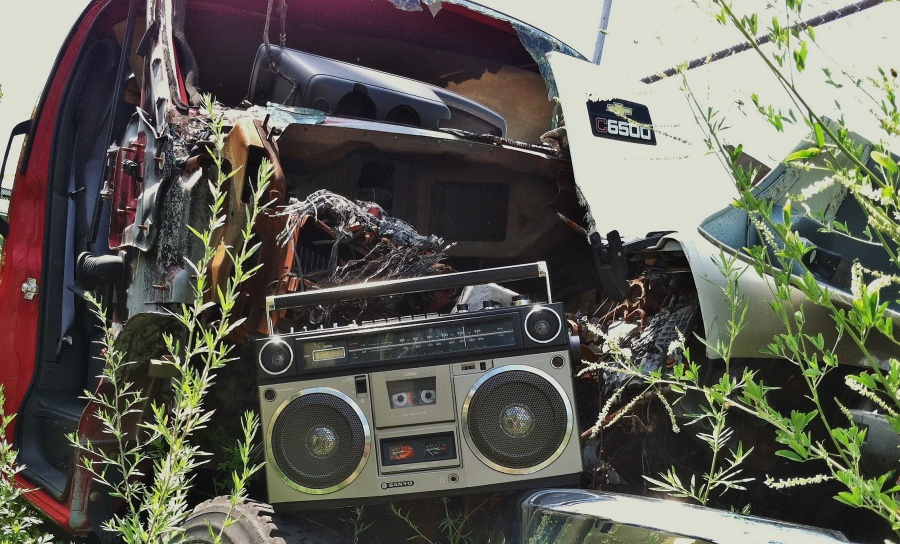
The clock on my personal grail Sanyo M9990 was displaying only 1 segment. That's no way to live.
Turns out the display wasn't making proper contact with the board. First, CAREFULLY remove the clock and "stuff".
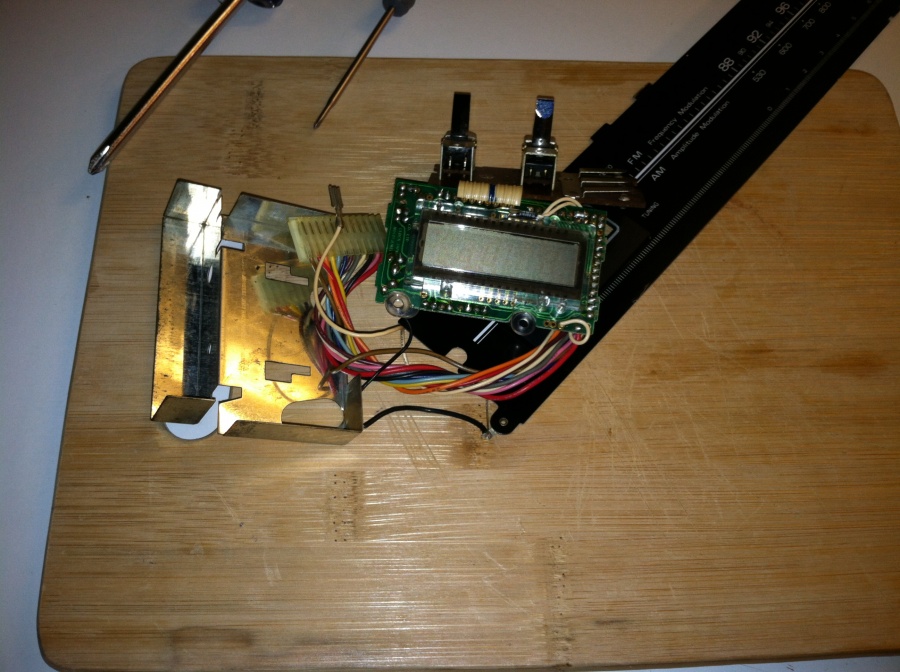
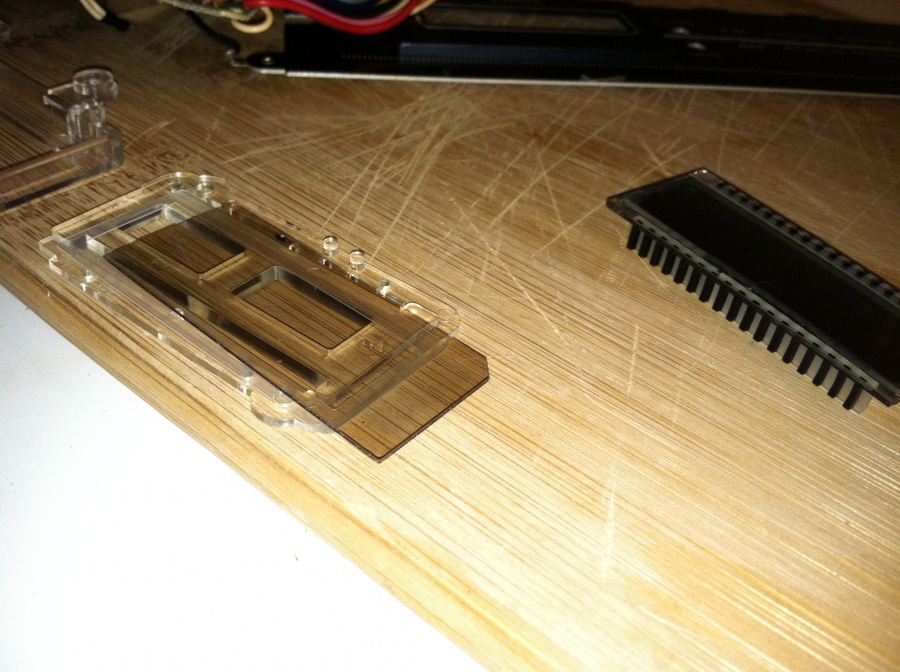
Next, remove the plastic retainer with the plastic spacer, polarized lens, and display.
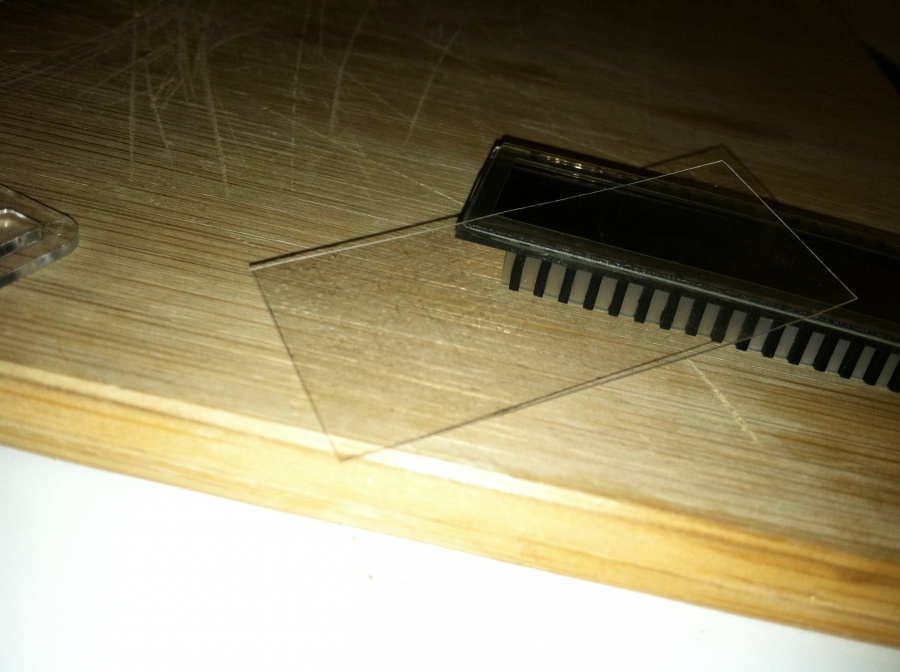
Then, make a "shim" out of thin clear plastic. This will apply pressure to the display when assembled, ensuring contact to the board.
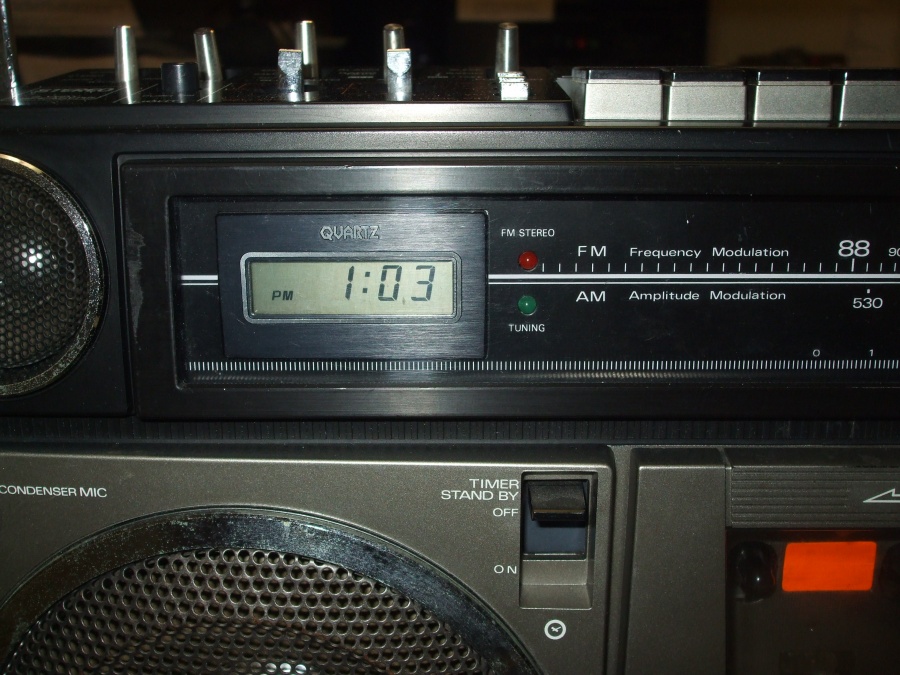
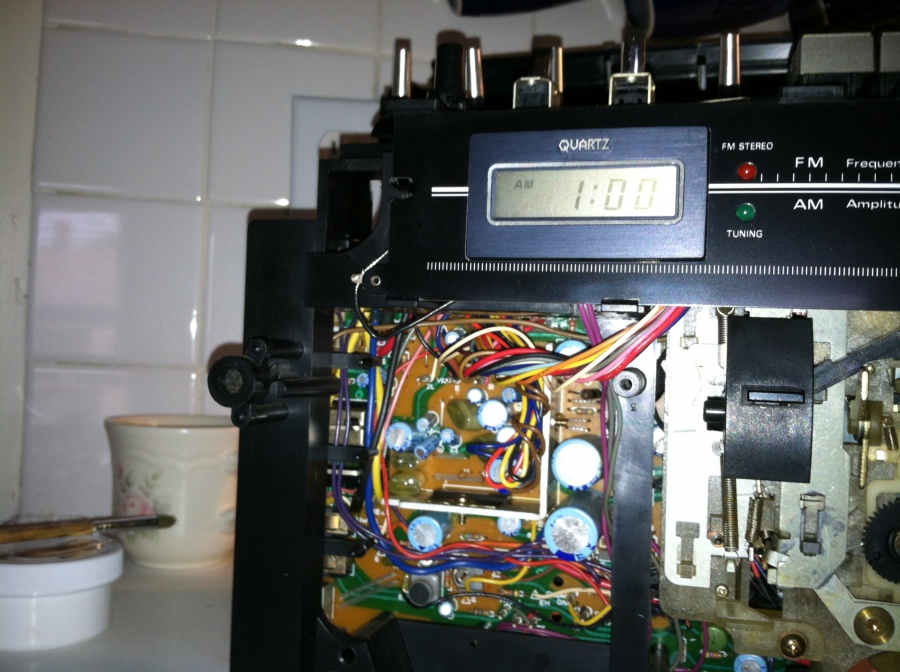
Then, test it. If the clock circuit isn't damaged by spazing out trying to put the clock layers back together, you should be successful.
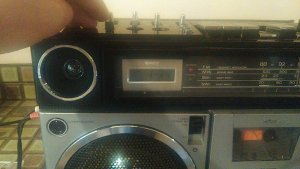
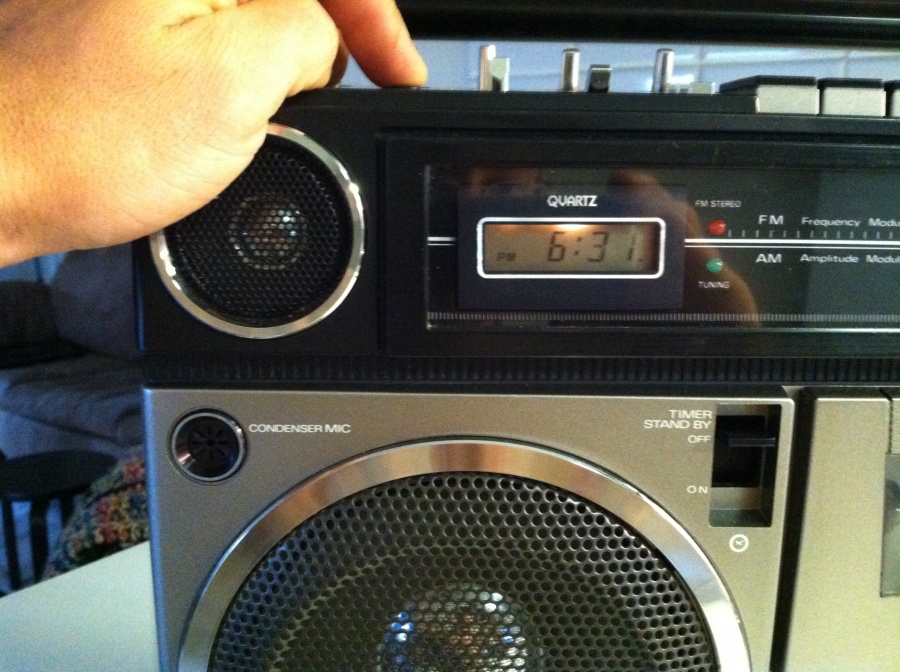
It looks much better with the chassis installed in the radio.
I'm not sure if this is a closely gaurded secret, but I have not been able to find any info on the clock on this unit. That's why I thought it appropriate to share this repair. Should I sleep with one eye open?
HINT: if you don't have them, pick up some reading glasses and a magnifying glass.
The clock on my personal grail Sanyo M9990 was displaying only 1 segment. That's no way to live.
Turns out the display wasn't making proper contact with the board. First, CAREFULLY remove the clock and "stuff".
Next, remove the plastic retainer with the plastic spacer, polarized lens, and display.
Then, make a "shim" out of thin clear plastic. This will apply pressure to the display when assembled, ensuring contact to the board.
Then, test it. If the clock circuit isn't damaged by spazing out trying to put the clock layers back together, you should be successful.
It looks much better with the chassis installed in the radio.
I'm not sure if this is a closely gaurded secret, but I have not been able to find any info on the clock on this unit. That's why I thought it appropriate to share this repair. Should I sleep with one eye open?
HINT: if you don't have them, pick up some reading glasses and a magnifying glass.


 I would have to figure something out.

")