TC-999 back from the dead

Status
Not open for further replies.

caution

Member (SA)
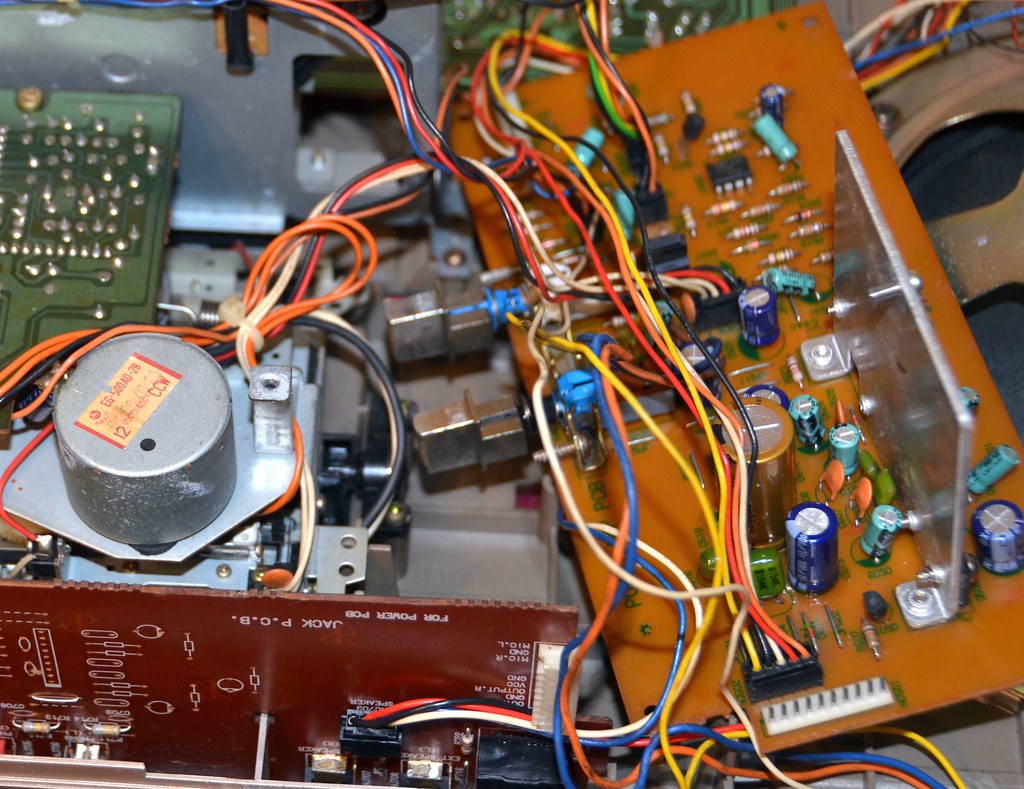
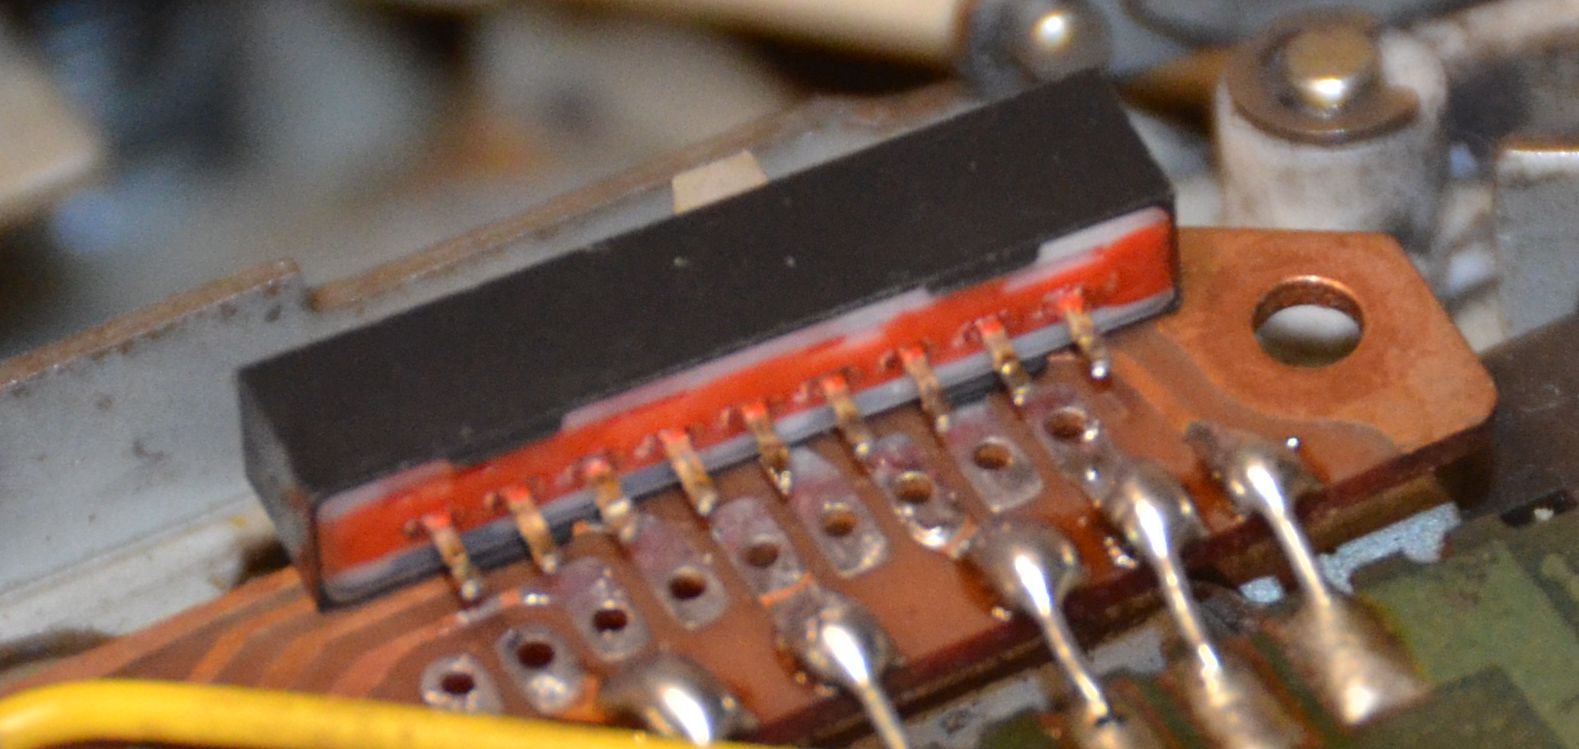
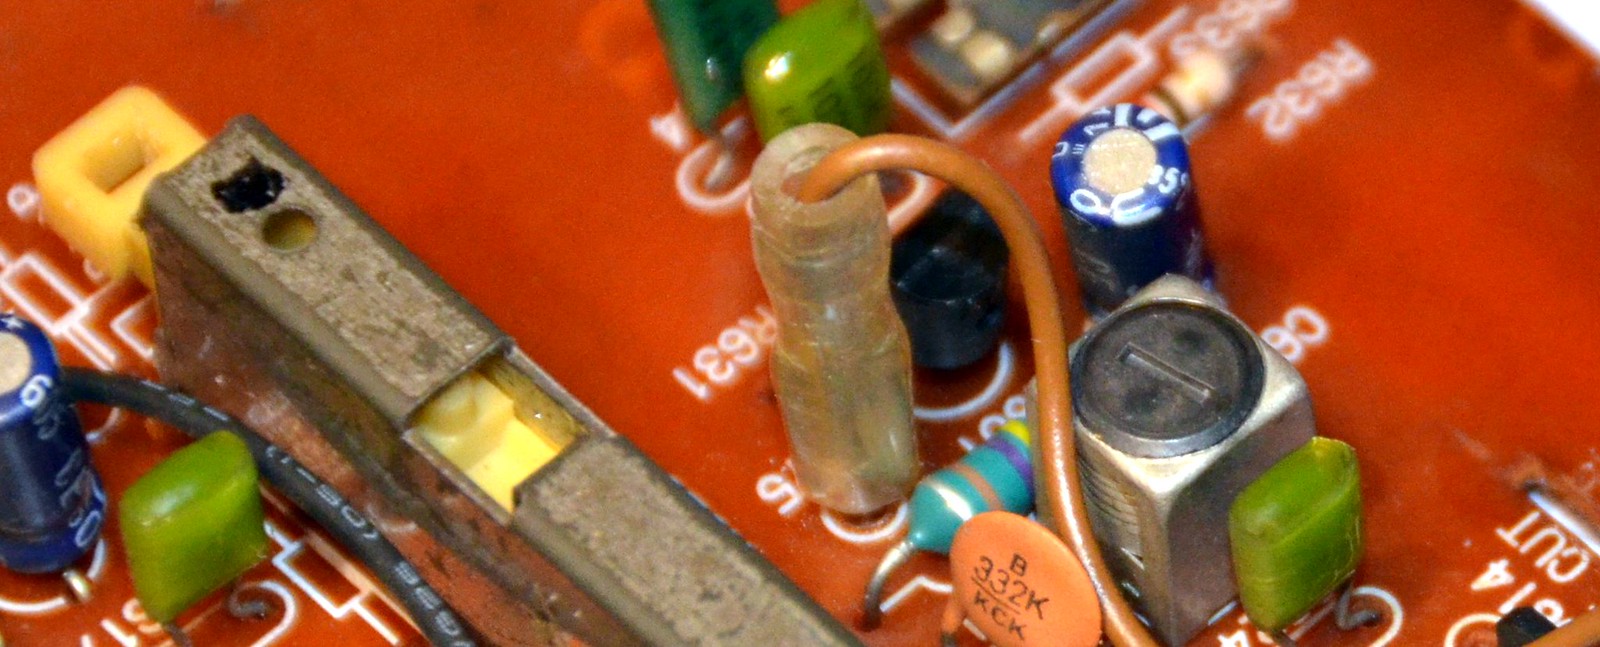
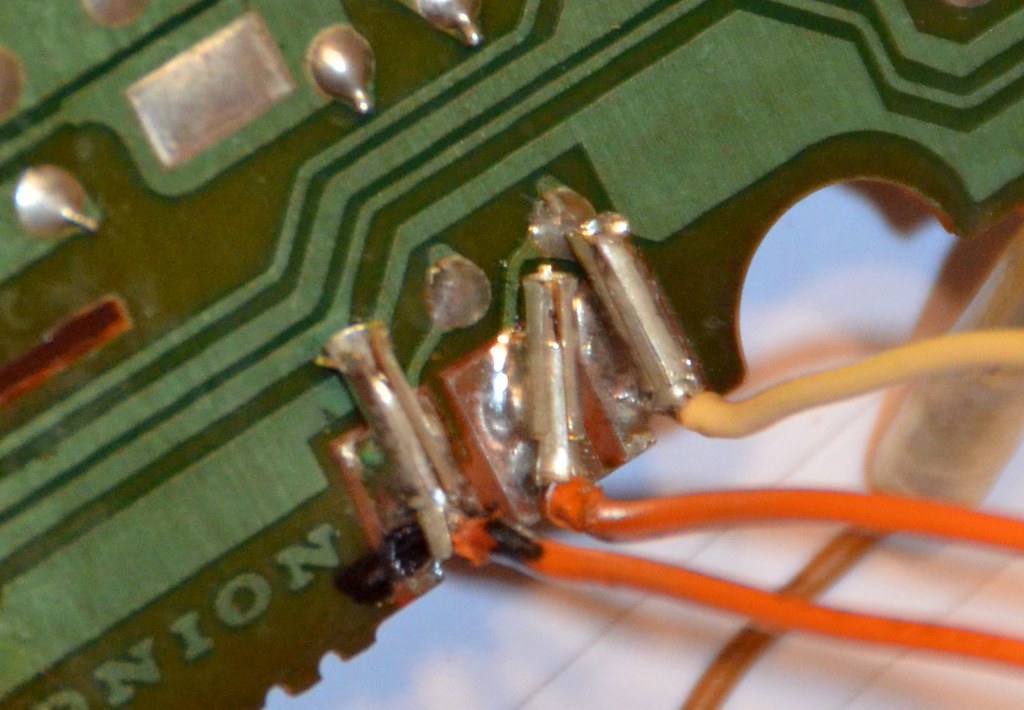
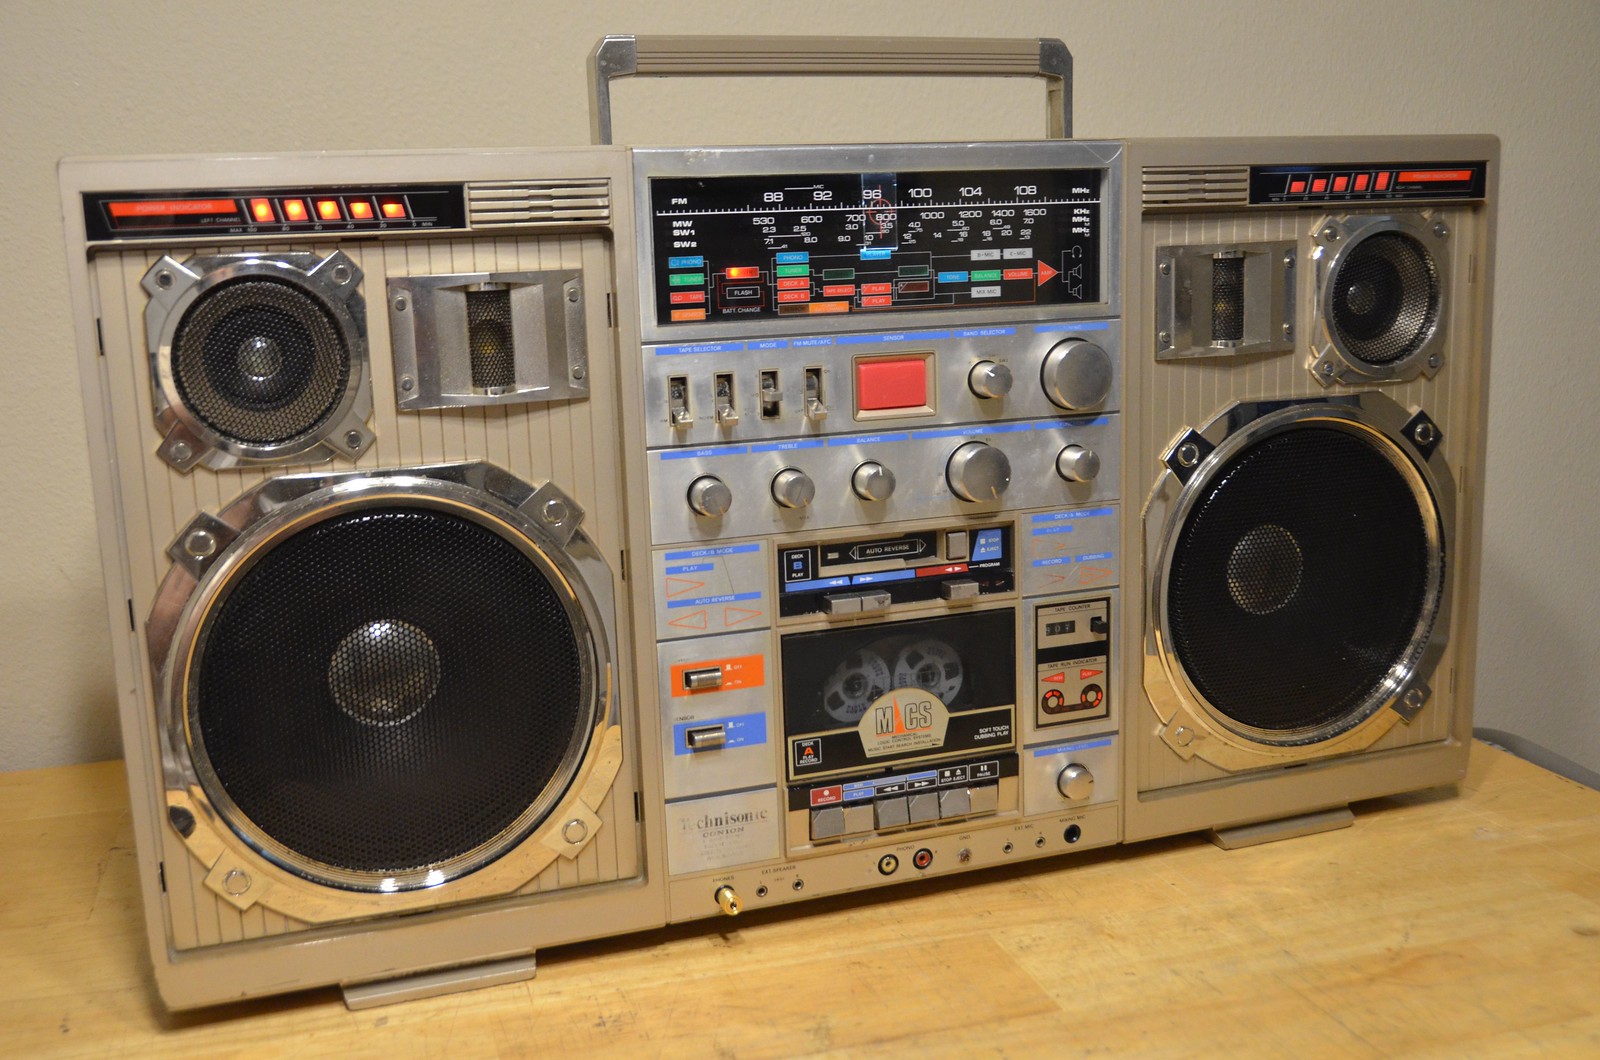
I've been trying to revive a Technisonic TC-999 that would just buzz and fuzz at full volume no matter what you did with the knobs. A new main amp cap didn't fix it, but it was soon evident why. One of the screws holding the heatsink to the amp board was missing, and all three devices mounted to it had solder cracks, probably because the heatsink also mounts to the tape deck motor with a bracket, which probably wiggled it and cracked the joints loose over time. All resoldered, new screw, and sounds great.

Taking the screws out the back I noticed half of them had the wrong thread style, so I managed to find correct replacements, although a bit shorter they hold solid. Then I noticed that the clip anchoring one side of the handle was broken, and wouldn't stay in at all. It's sort of like an arrow that pokes through a hole and stays there, but the fins snapped off. So, I cut the post off that held the clips and drilled some holes in it, then drilled the same pattern in a tiny aluminum plate that now holds it in place.

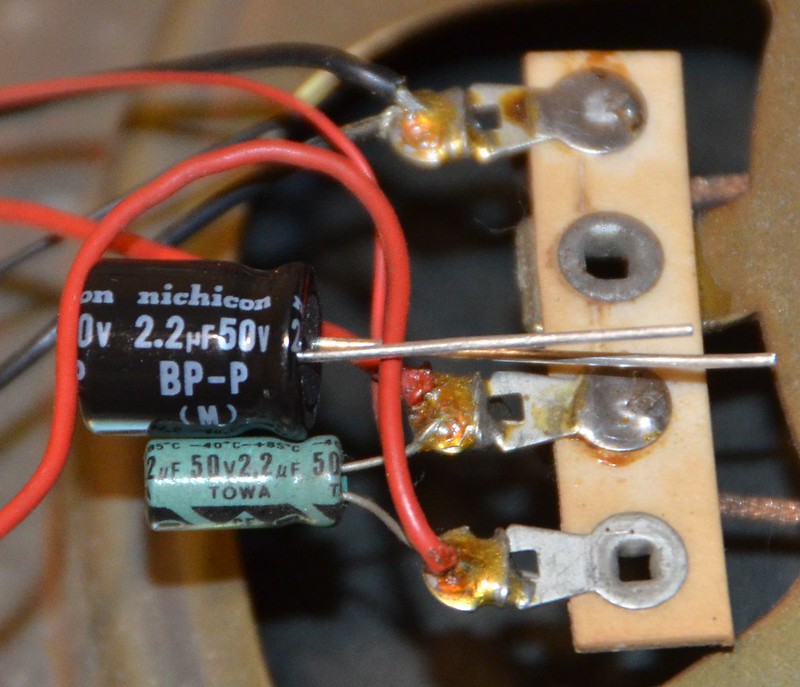
I swapped out the original polarized caps with NP crossover caps and sanded off the rust on all the battery terminals.

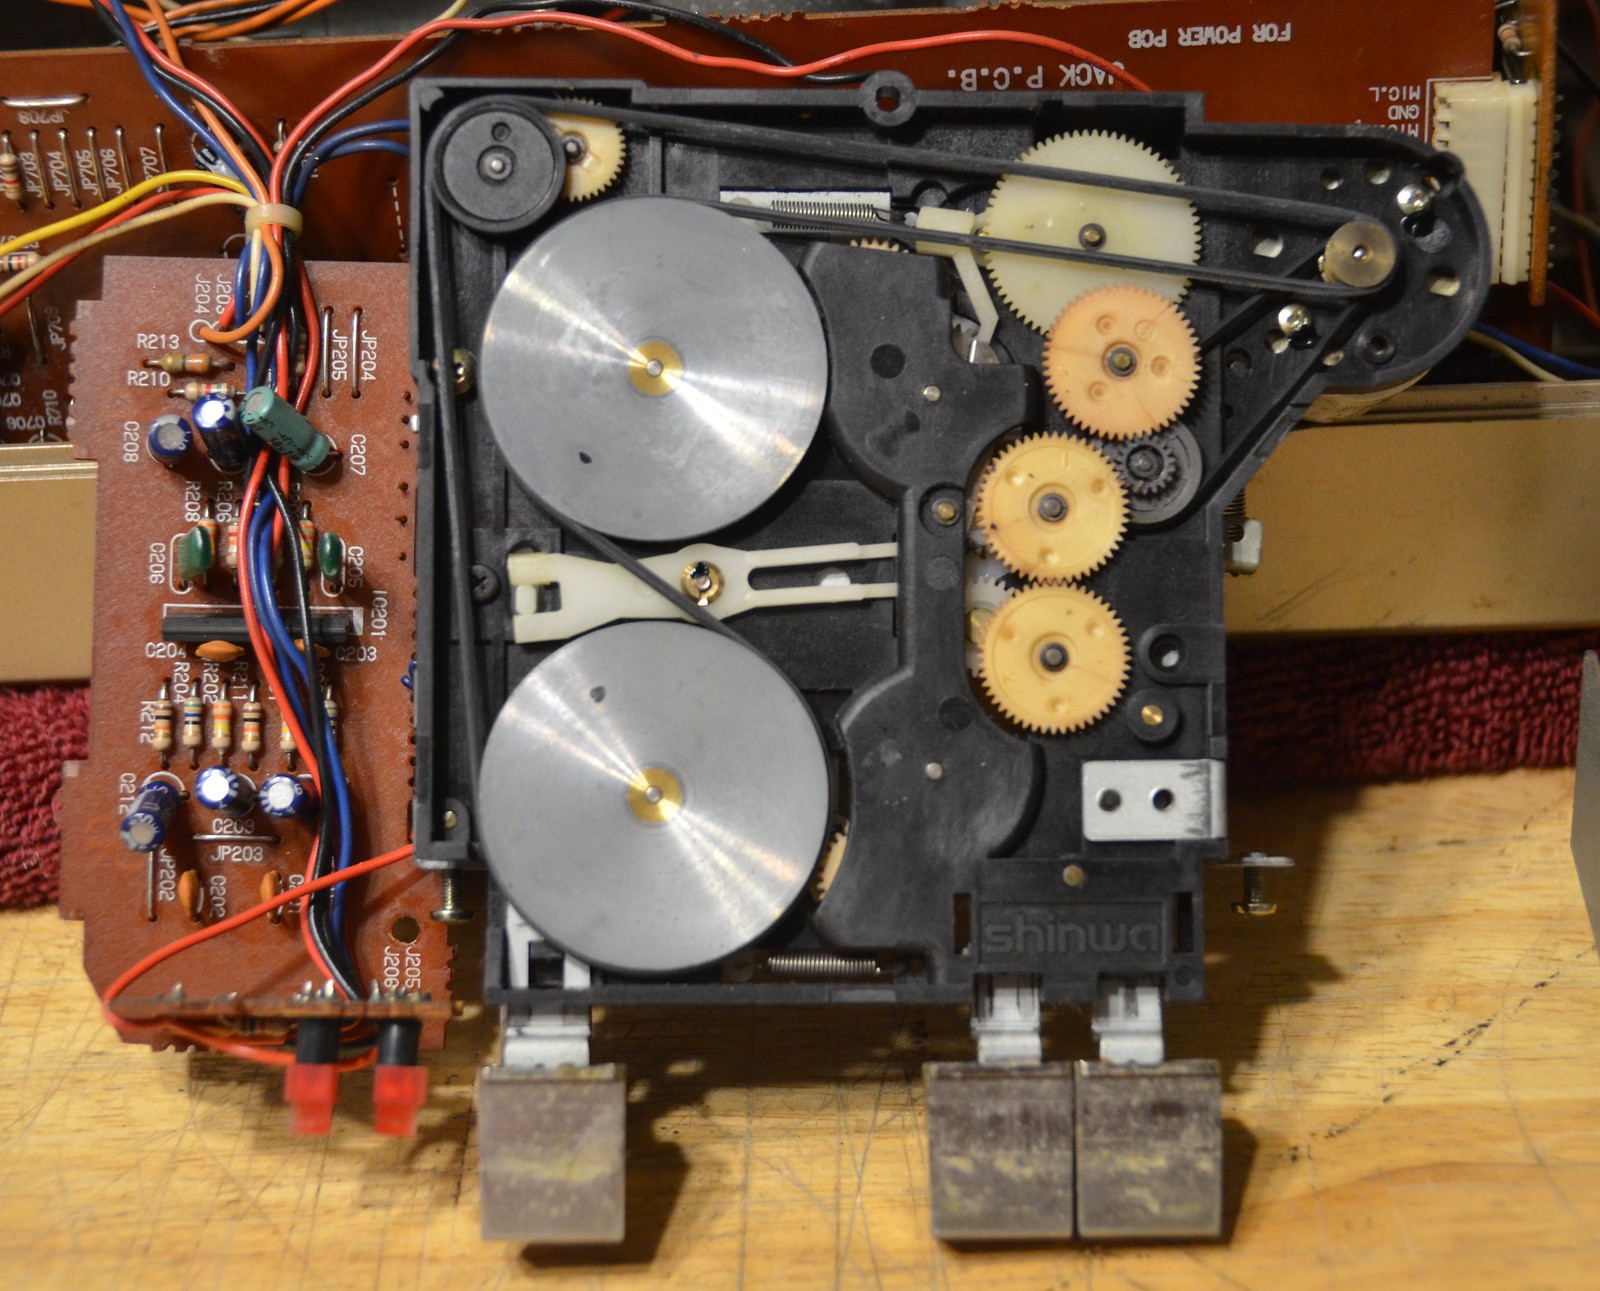
Right now I've got both decks apart and determining which size belts I should replace them with. Not much on the site here that I can find, so I might post about what ends up working best.

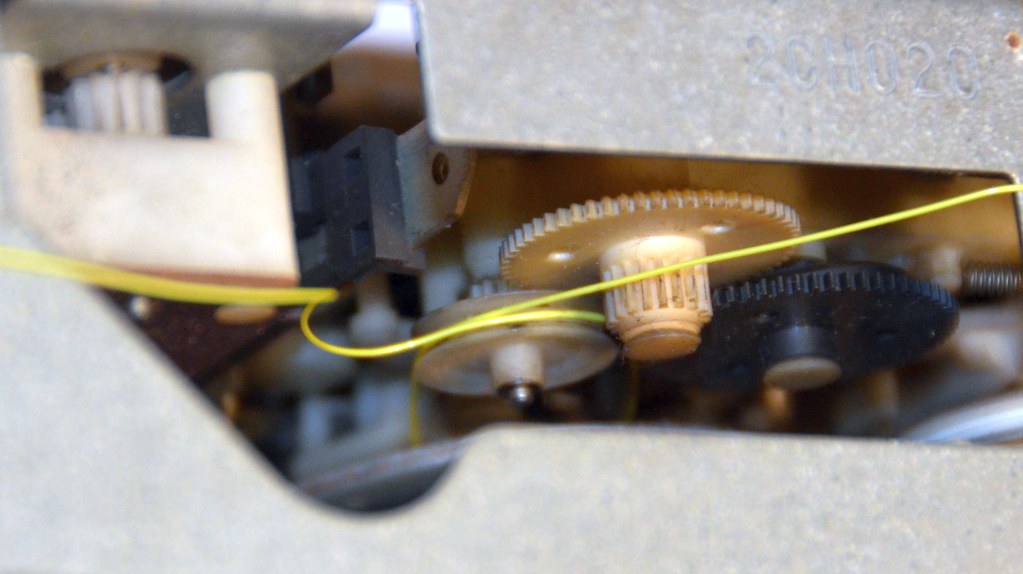
The upper deck has two belts. One is measuring 16" worn, so I'm not sure if I should subtract 10% (1.6") or even 20% (3.2"!) so I'm still noodling over that since each one will cost a bit. You can't get sizes that big in those variety packs on ebay.

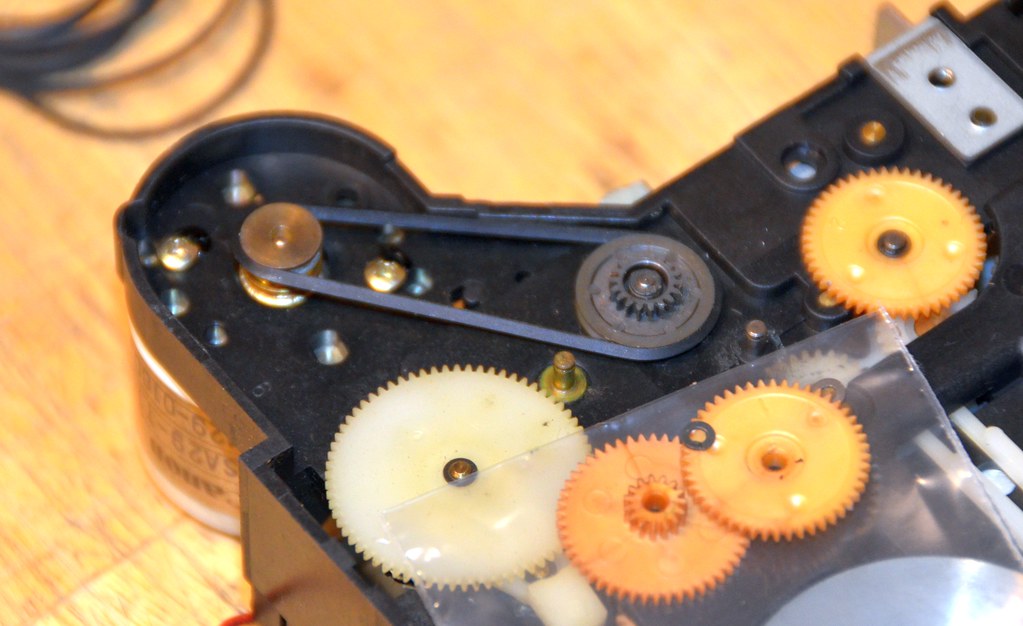
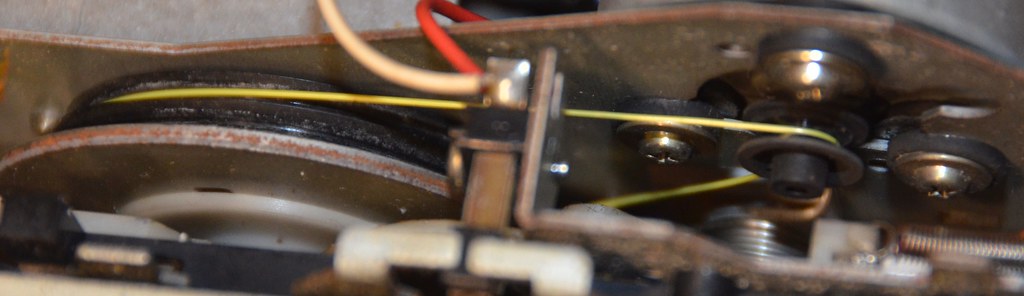
The shorter one is 3.8" worn, and could only be removed if you pop out two gears, which means removing two tiny oil washers, those fragile black things that are difficult to remove without trashing. Luckily I had a few intact ones in that size from other teardowns, so when the second one went flying into air never to be seen again, I had a backup :-) I had a 3.5" belt that fit for the small one, but you can see in the pic that it's sort of fat.

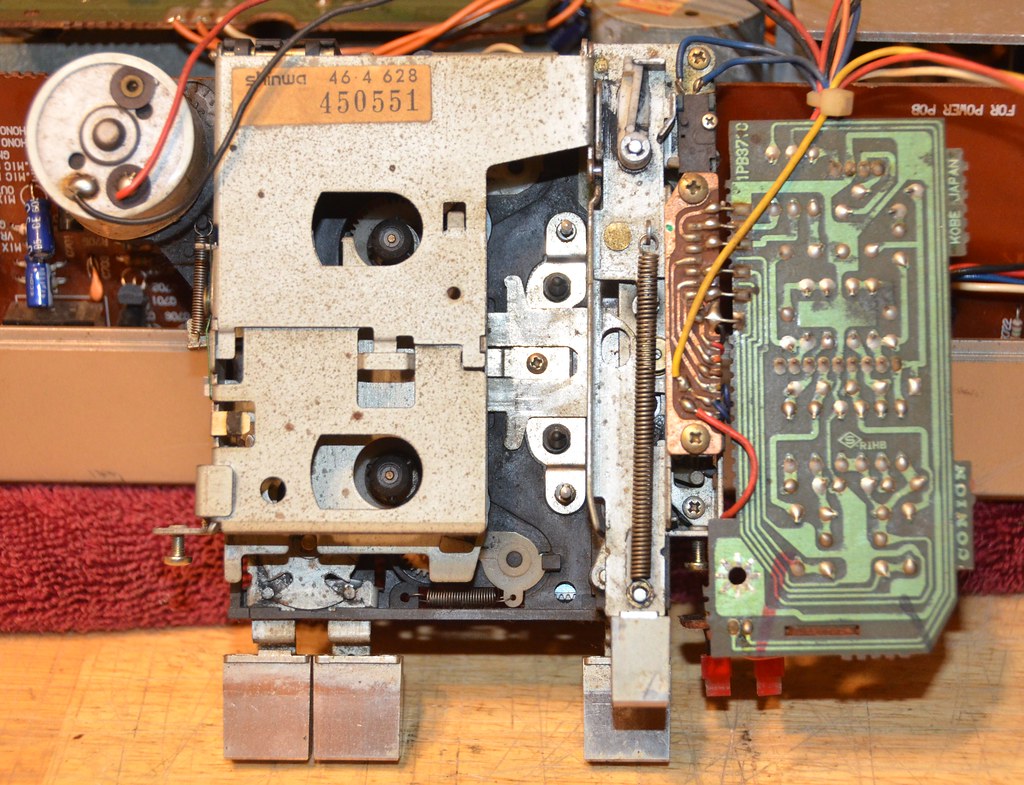
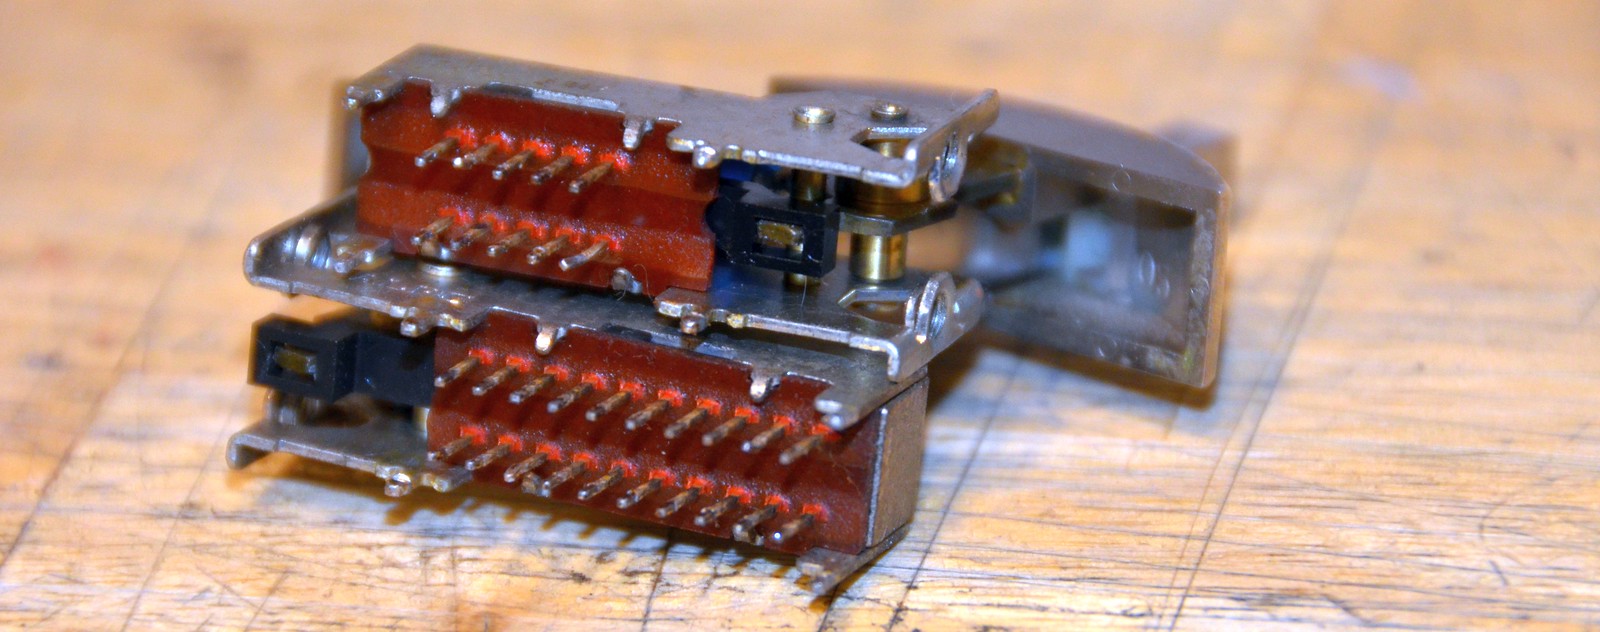
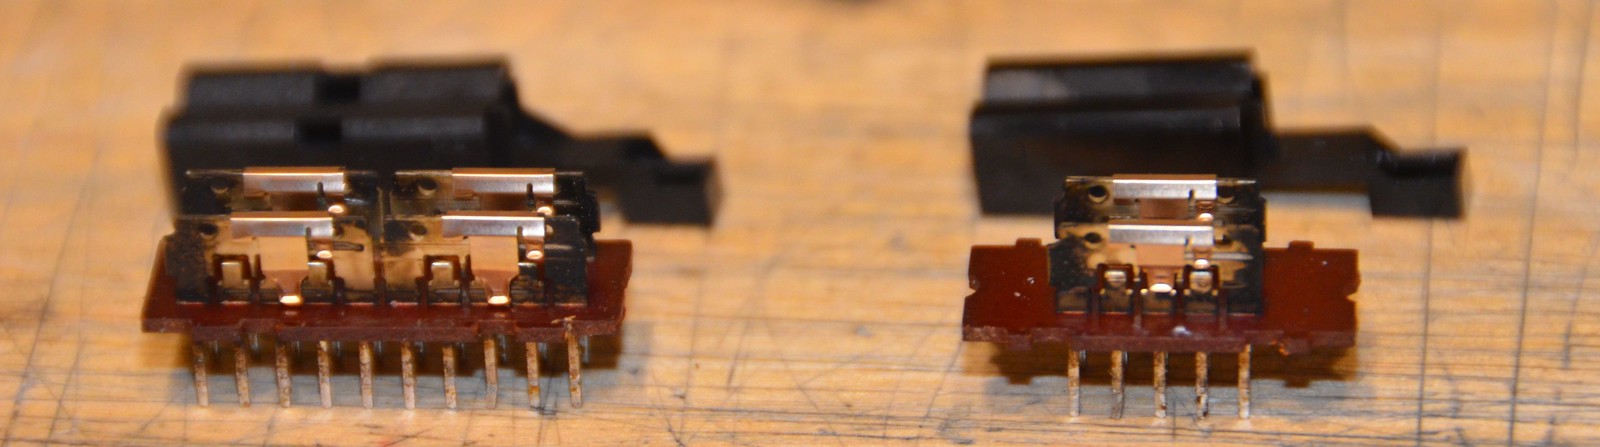
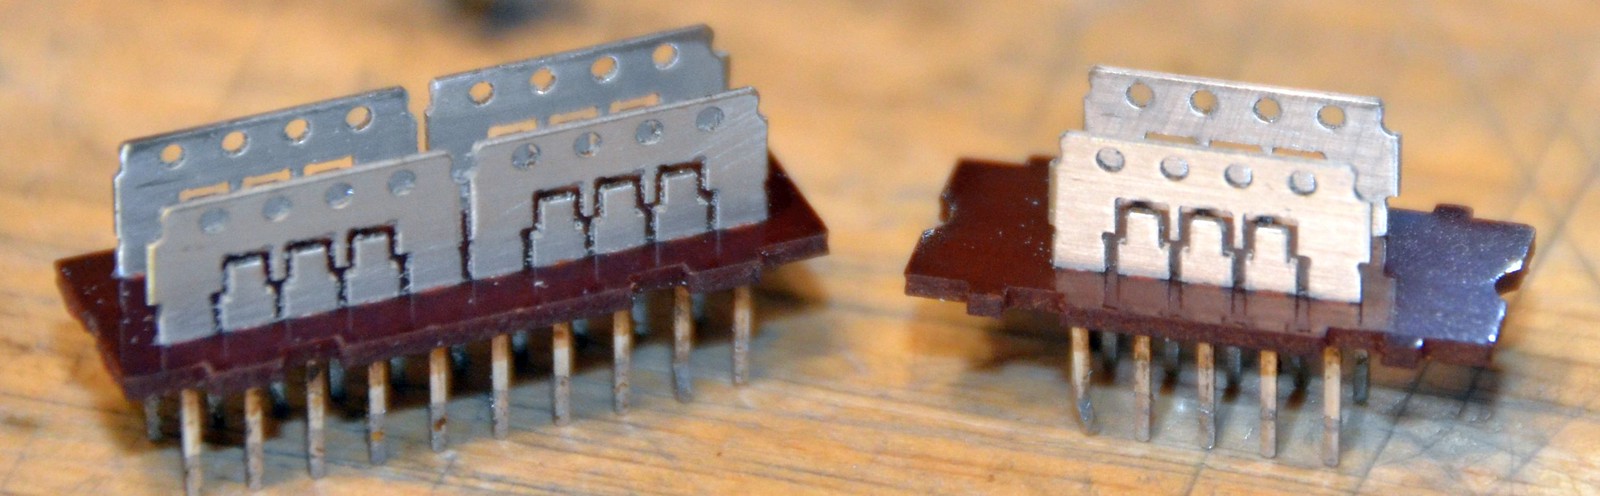
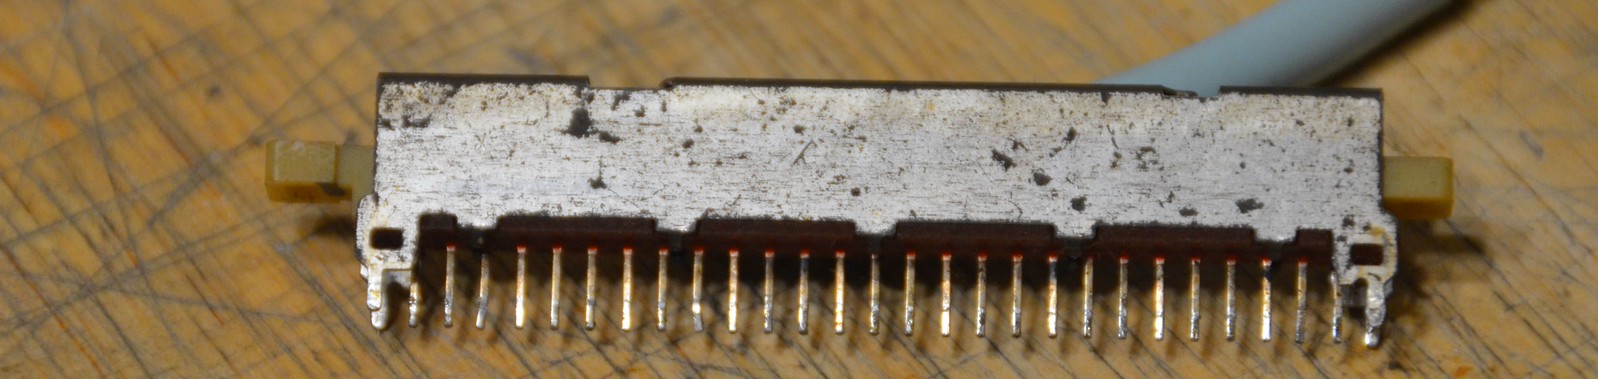
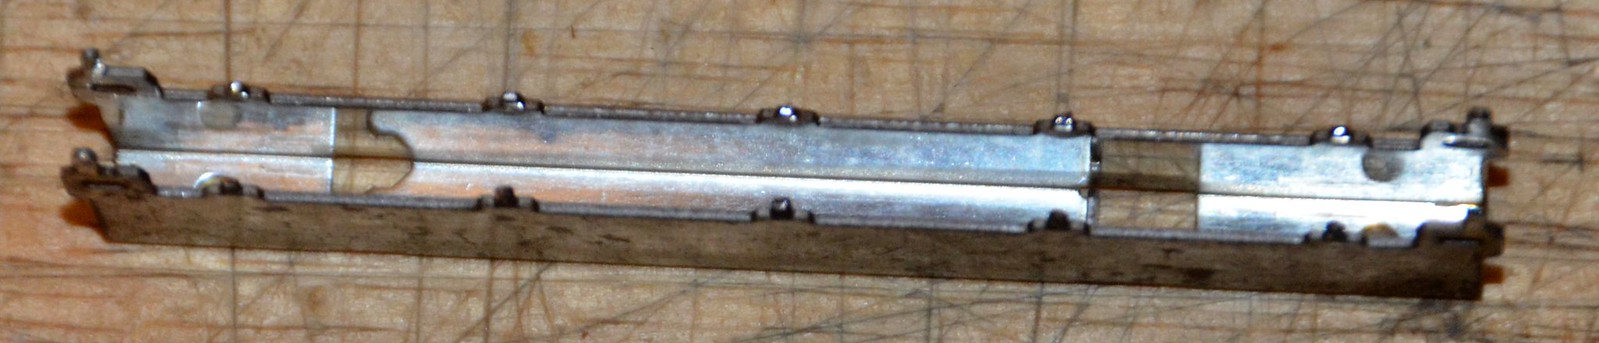
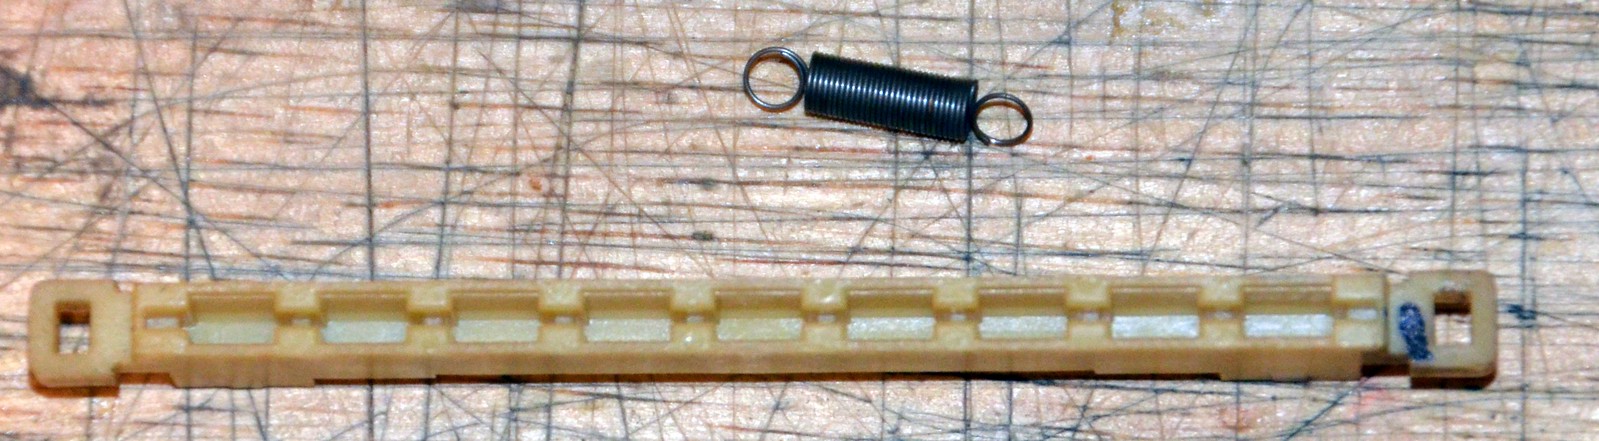
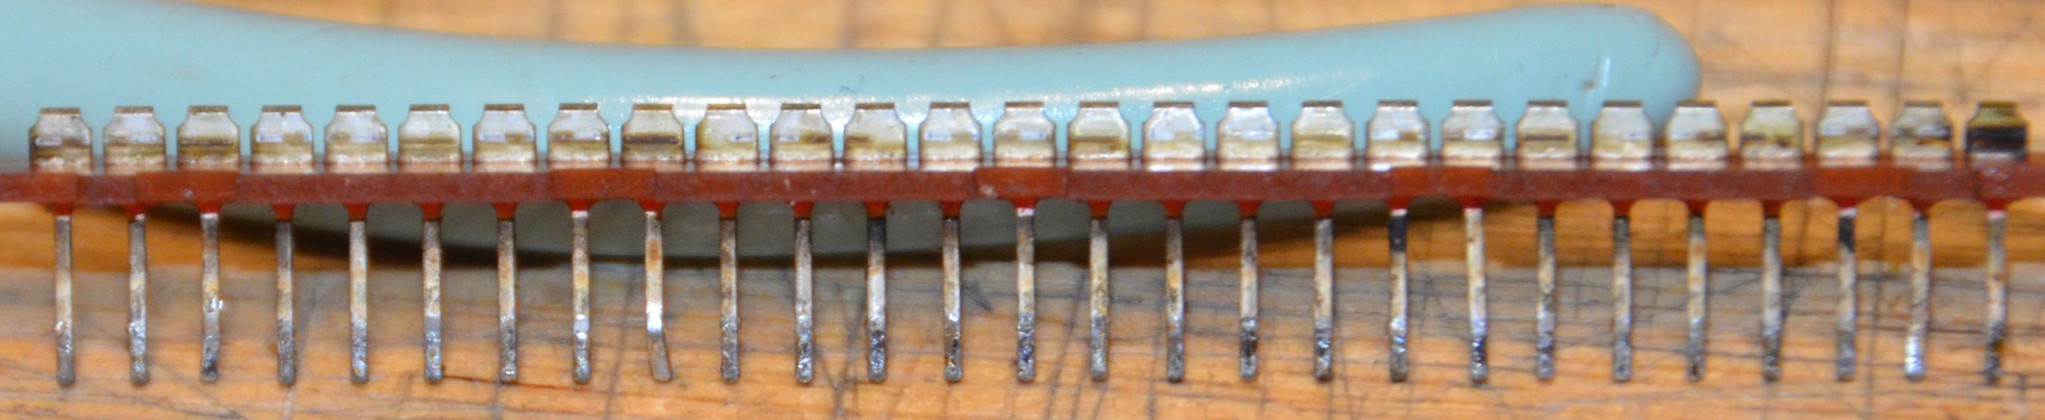
The lower deck has four belts! I am still in the process of tearing it down carefully. Notes, notes, notes. The door must have its eject spring detached from the case inside before the deck will pull out. This is actually a really fun box to work on because every wire it attached to a removable connector.

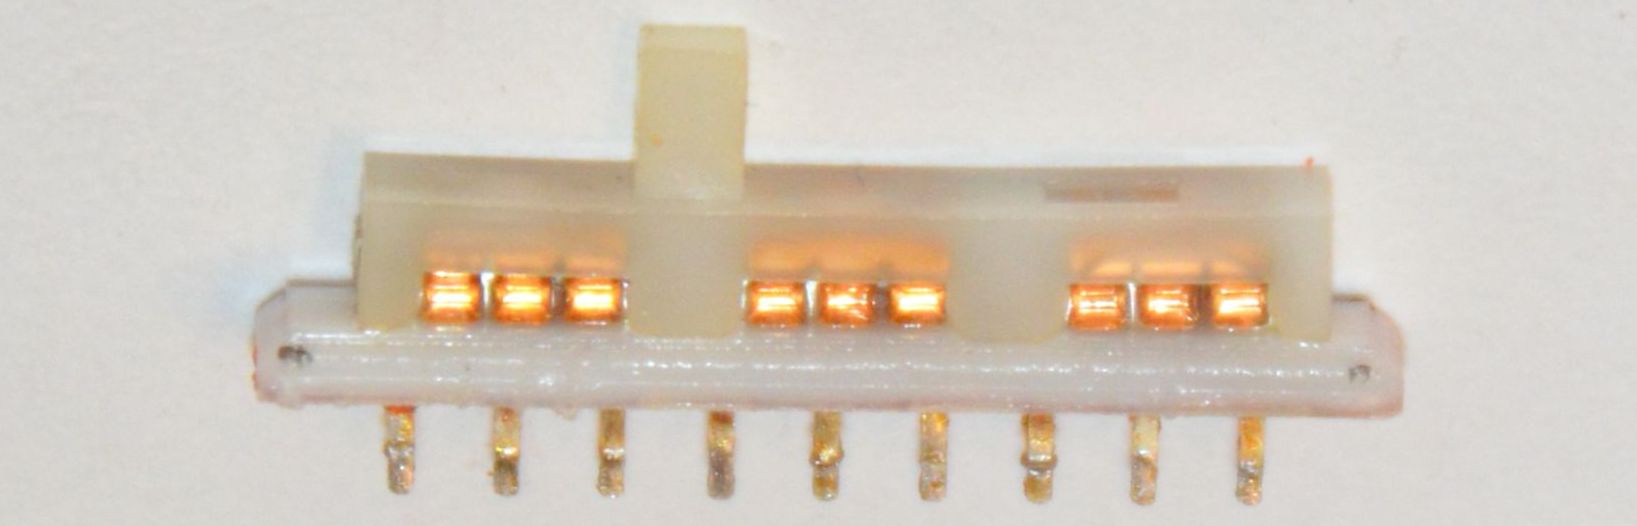
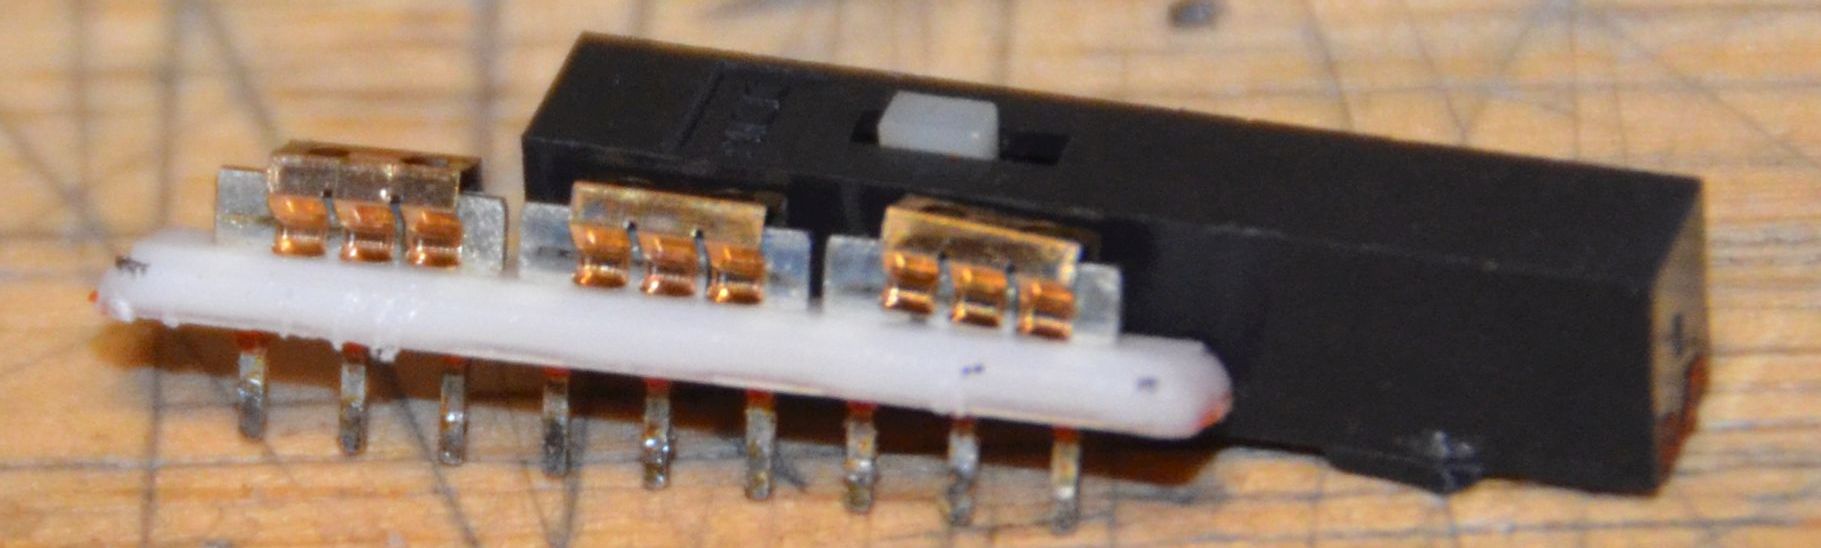
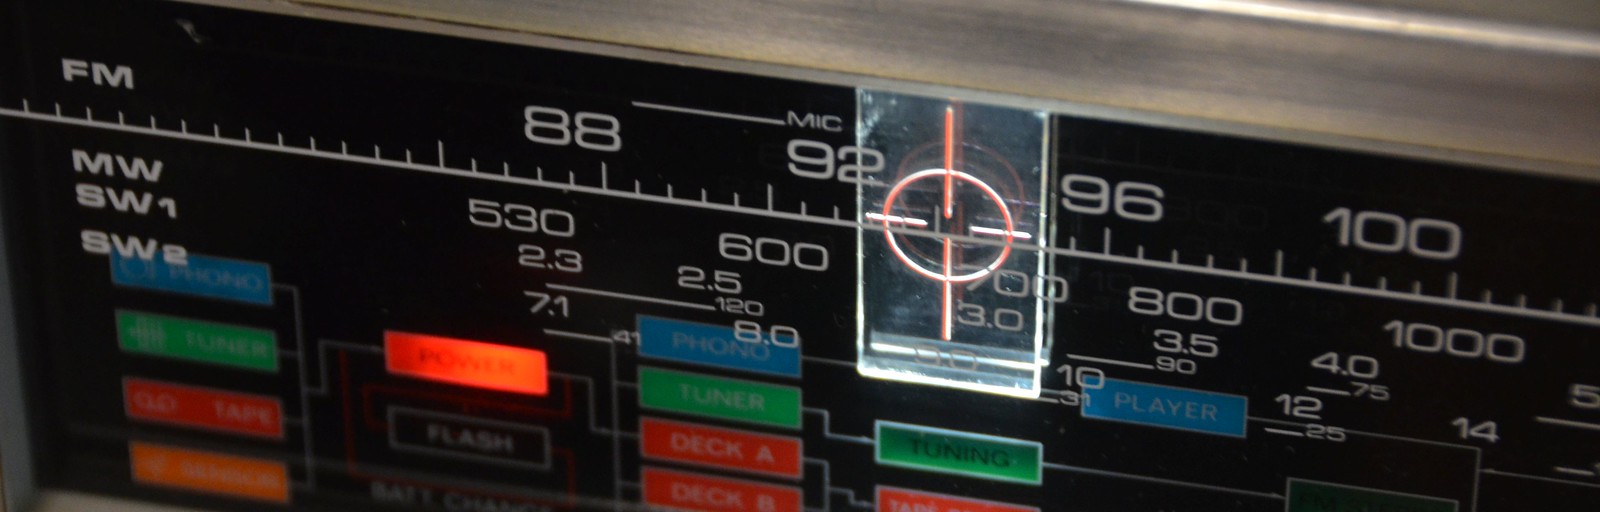
Although that's nice, the function switch and volume knob need cleaning, and they're behind a ginormous tuner-preamp combo board which looks like the dial cord must come off to remove, so that's next.

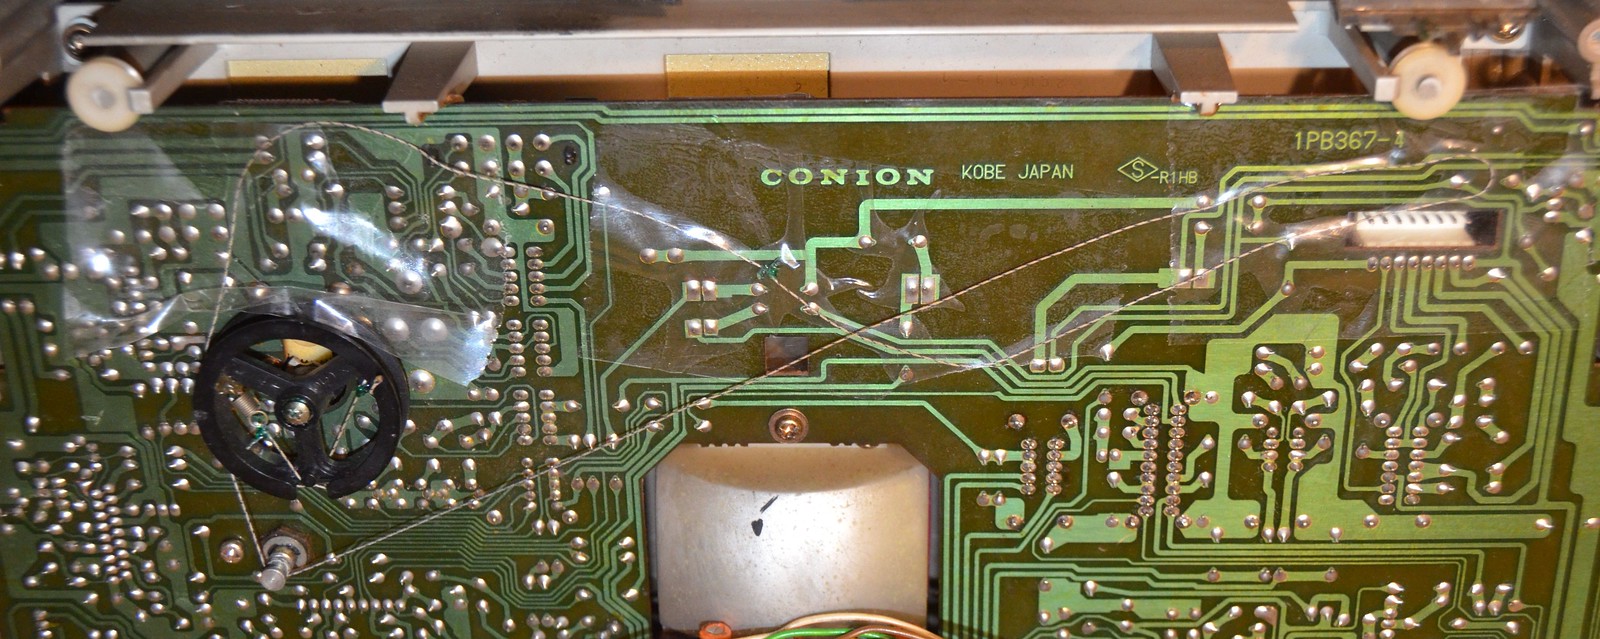
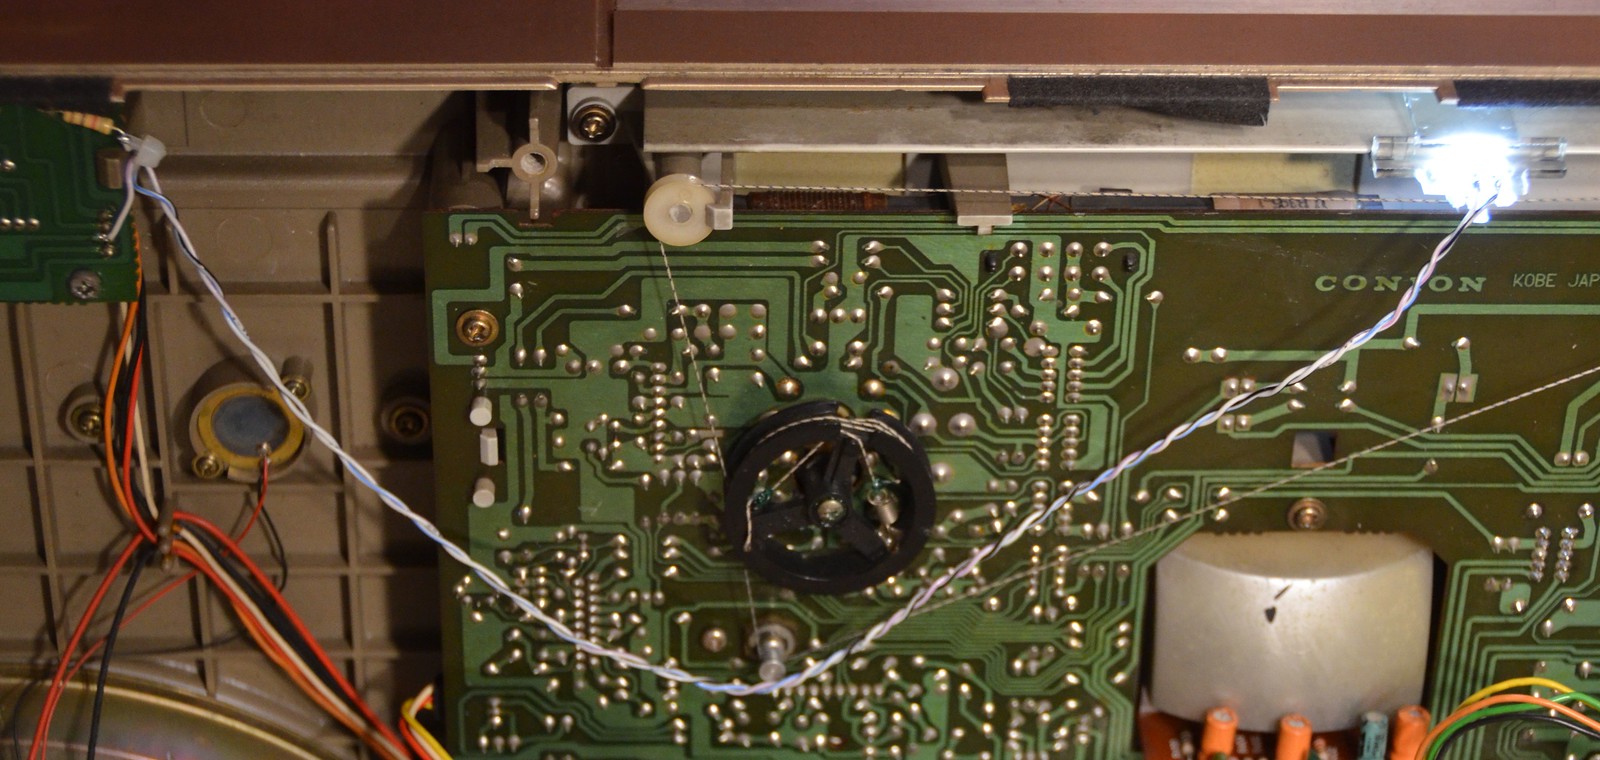
Shining the flashlight through the back of the amp board looked kind of cool on the logo.

35470335924_2d8155c968_h.jpg

35470337924_a13dfb3707_b.jpg

35910846320_9edf208bd6_h.jpg

35470334714_d74da7c62c_b.jpg

35470337494_c0e4af819c_c.jpg

35910845940_ca763b75de_h.jpg

35470335264_c0593b9843_b.jpg

35910845360_4aa05c3f0e_b.jpg

35910844840_e7e720bb08_h.jpg

35470336624_8e58a600b0_h.jpg

35910846140_10b8851911_o.jpg
 

Reli

Boomus Fidelis
Aww yeah.....The best-looking Conion!

Don't you love how the rear case screws into the upper deck? It's kind of hilarious. And then there's that little board under the sensor just hanging there.

I'm probably going to need to disassemble mine too, because it won't hold stereo unless I wiggle the switch 10-15 times, so I need to clean that switch which is buried behind that big board.
 

Lasonic TRC-920

Moderator
Great thread. Certainly a great radio to save. I remember from working on Reli's 126, which is similar to the 999 of that sideways mounted amp and heat sink and thinking "Man, there is a lot of wiggle room. Possibly shaking loose over time".

I wonder if this is a common thing?
 

caution

Member (SA)
Thanks guys. I'm sure they would have rather not spent the money on that screw but it had to be there to avoid something, like rattles or stability. The C100F has one too. These side-loading decks probably can't take much downward force without rear support. The 999 especially because of the way the amp board's heat sink is bracketed to it. This didn't have the tiny rear screw or one of the heatsink screws, so any deck movement could work loose those chips on the heat sink :-/ 
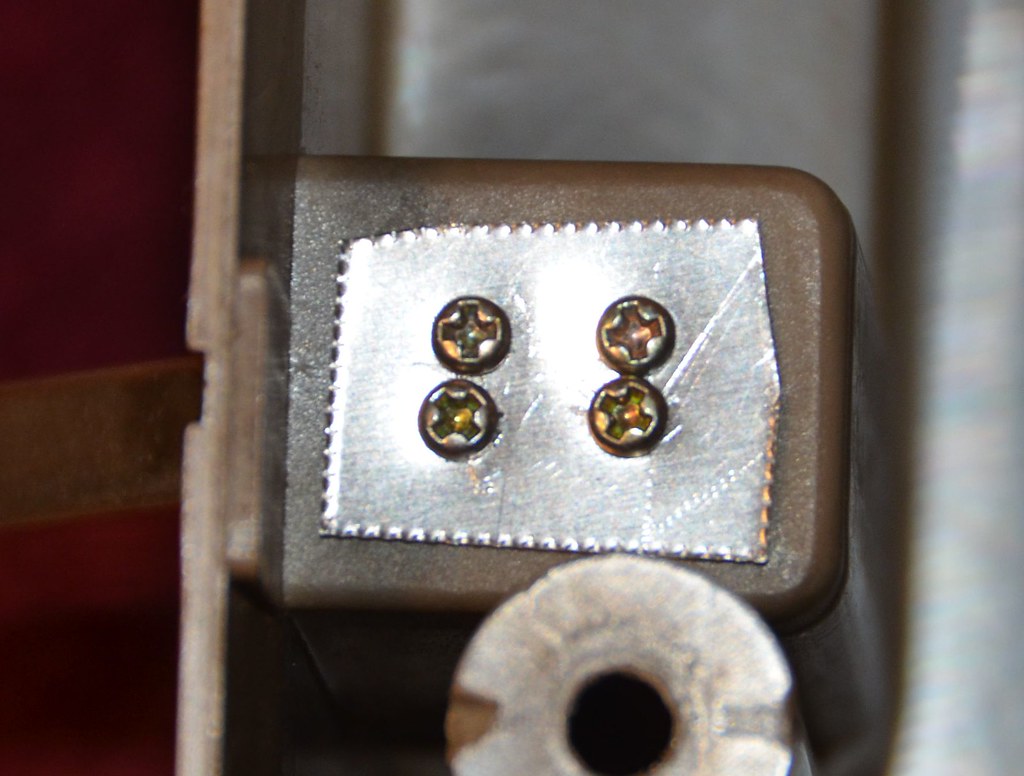
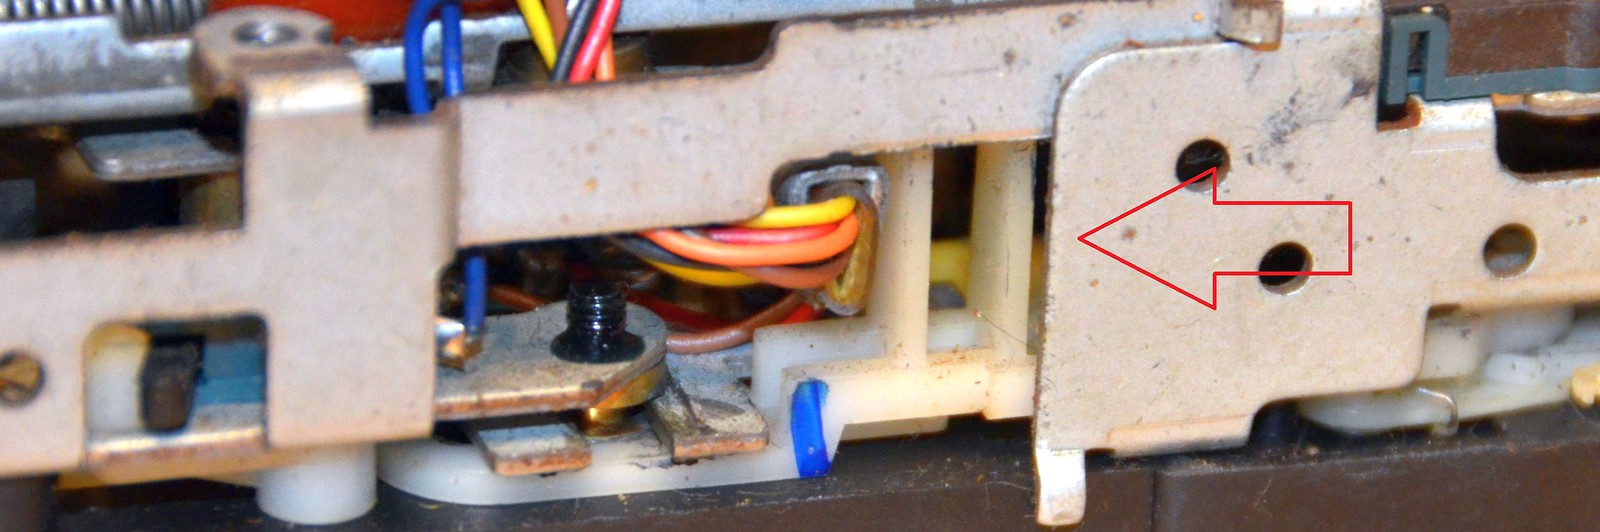
(Edit: I mis-spoke, the heat sink brackets to the lower deck for stability, so the rear screw only helps stabilize the upper deck.)
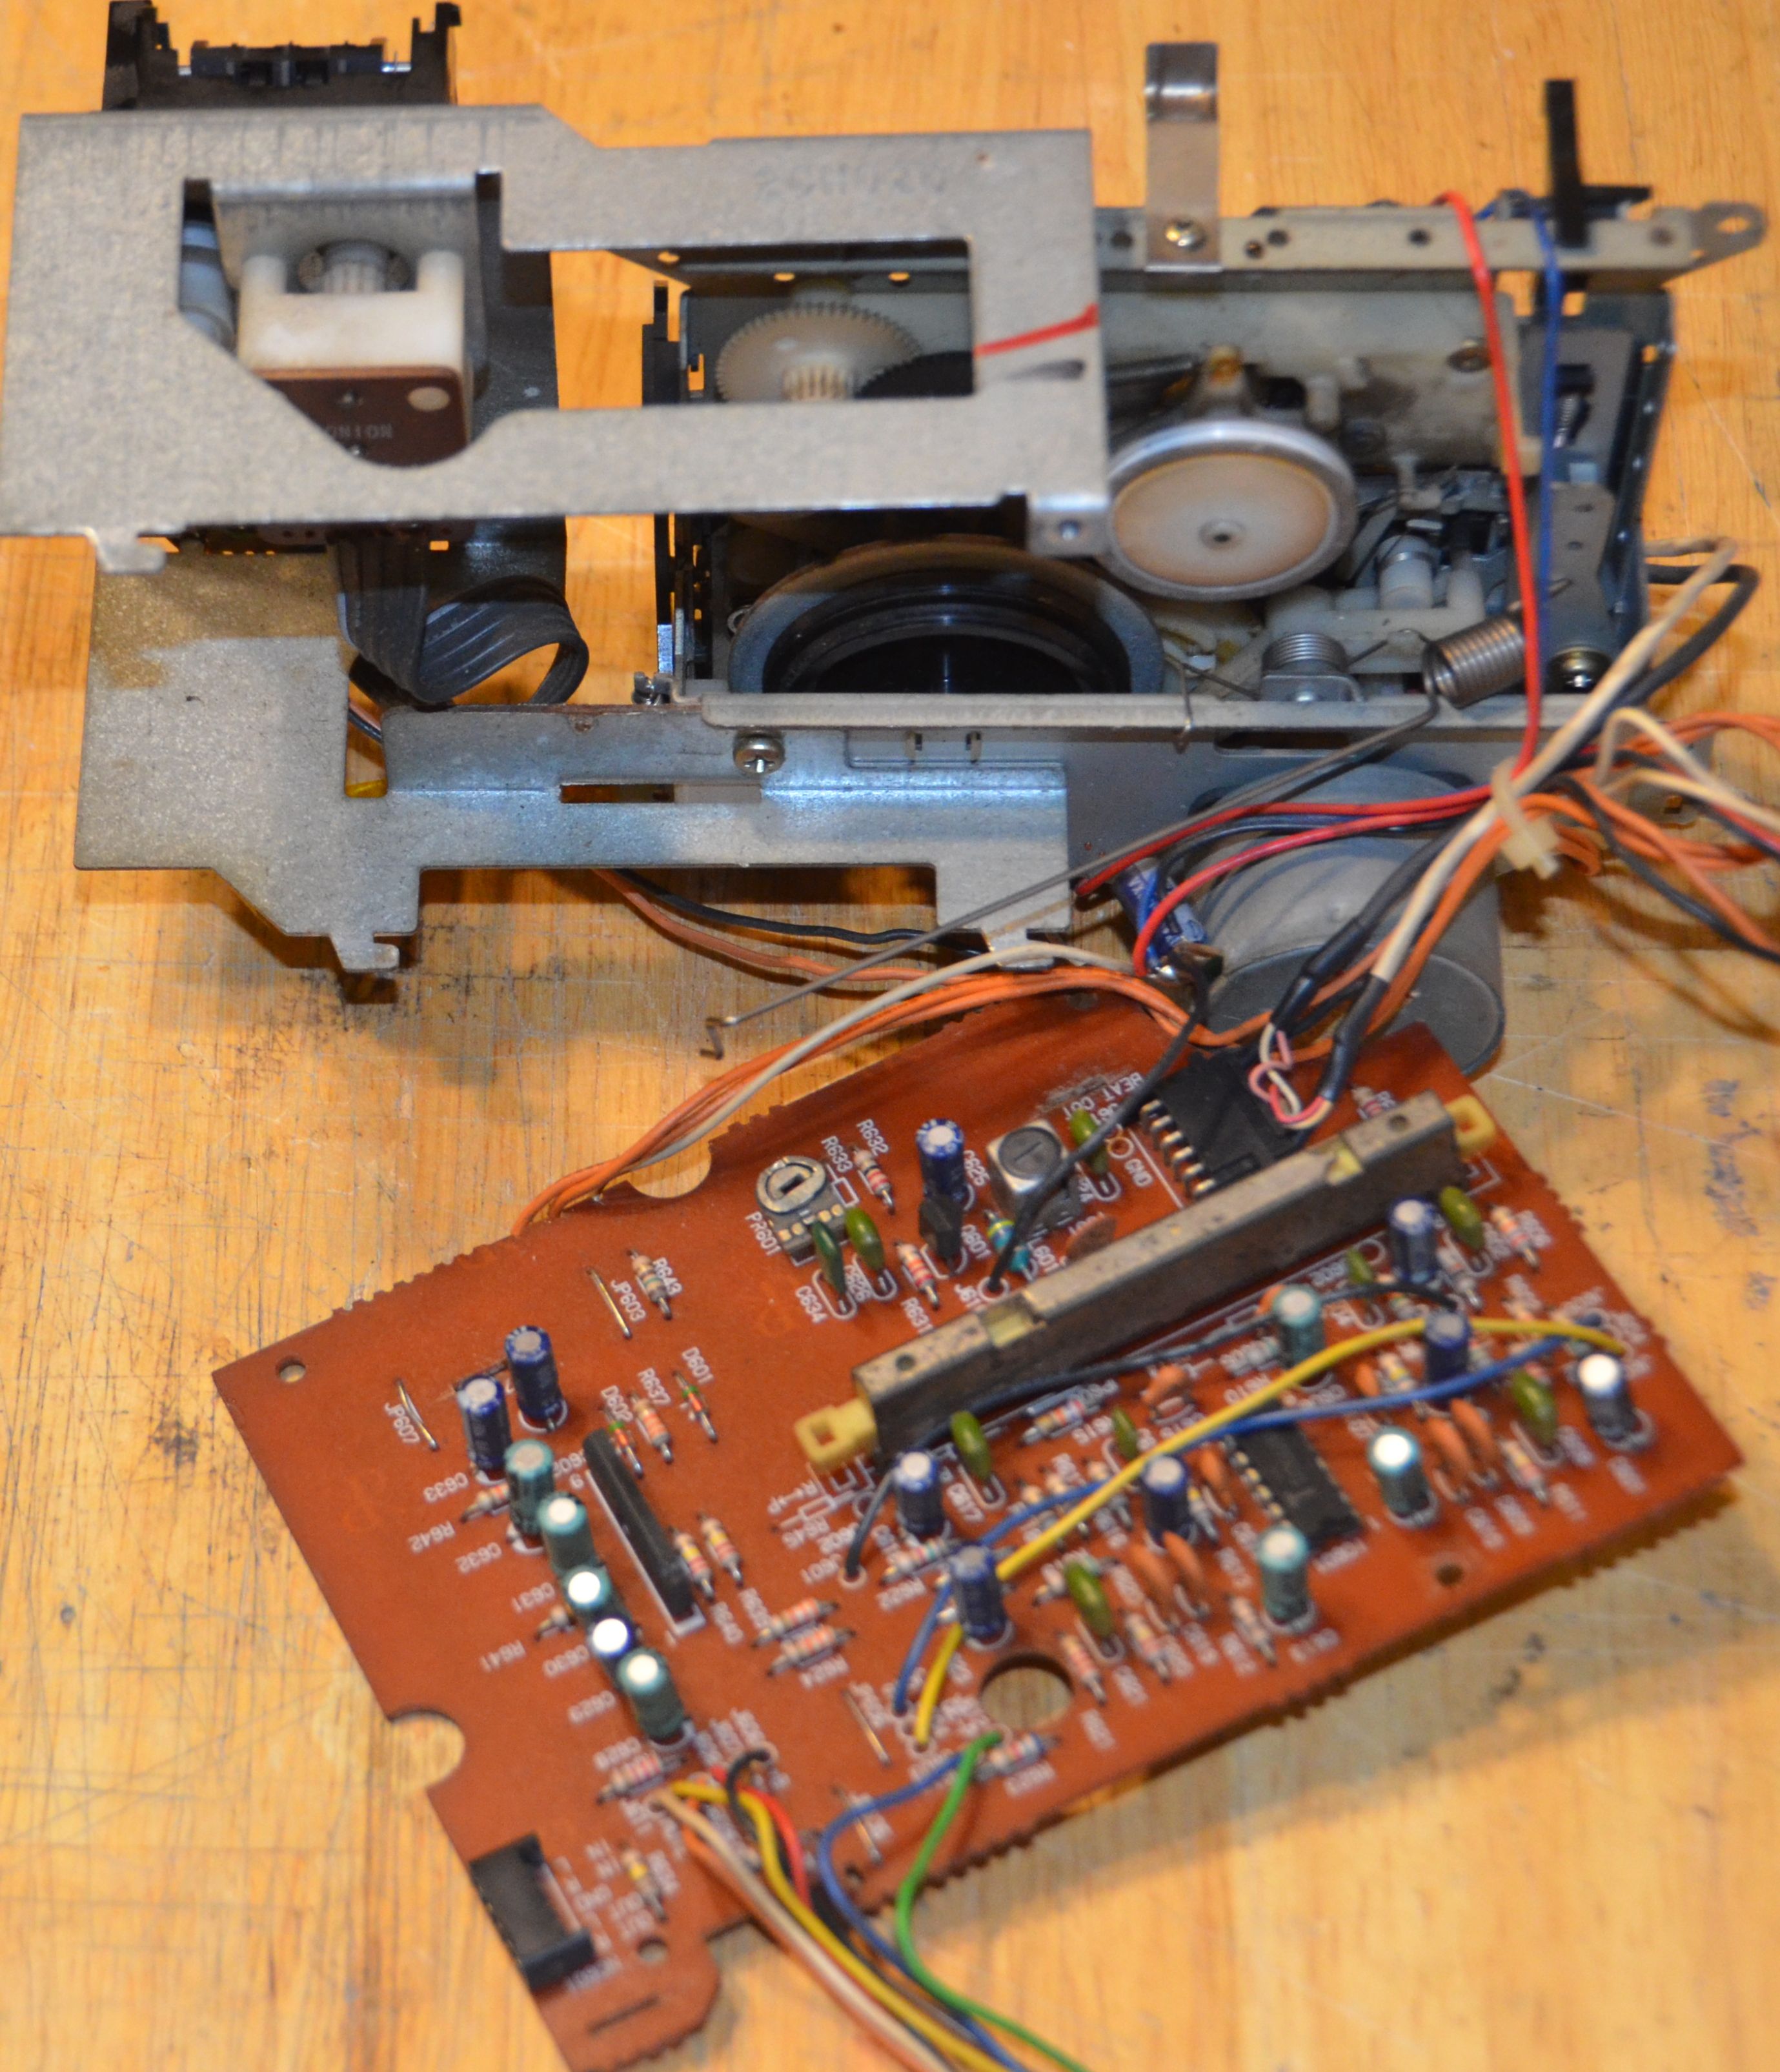
Hah yeah that sensor circuit was probably done on its own board so they could re-use it on other products more easily, unlike the C100F where it's part of the amp board. I'm not sure why but I get stupid bad reception on here, Only one or two stations struggle to stay in stereo.

I got all the belts off without much need for a teardown. You have to remove one screw from the control board and straighten three metal tabs so you can slide that off the frame, and pop the record bar spring off by lifting up from under the record bar end. I found that the belts will (barely) slip over the end of the flywheel shaft, the plastic clip it sits against has enough play in it. Otherwise, it's quite an ordeal trying to take the frame apart. That long bracket at the very bottom edge of the second-to-last photo has a large spring under tension on it.

I wrapped thin bus wire around all six belt paths. Both belts on the upper deck as well as the gear drive belt and counter belt for the lower deck are either the same length or slightly shorter than the actual belt path; the reel and motor belts on the lower deck are a half inch longer. That sort of makes sense, if the owner used the lower deck almost all the time, the counter and gear drive belts probably don't see a lot of strenuous action like the reel and motor belts do
 

caution

Member (SA)
Here it is after undoing the screw and three tabs for the board, and popping the belts and spring off. Also, a shot of the end of the flywheel shaft where the belts pass through to come off. You must remove two little screws, one on each side of the deck frame, so you can work the frame apart a tiny bit to let the belts through. One is in the middle of the black spring-loaded clip for eject, the other is opposite that.

In the pics I'm measuring two of the six belt paths getting measured. Those are the gear drive and motor belt paths. After pulling the strand back and forth a few times to get it to fit to the path, I used a fine point sharpie to mark where they meet at the pulley.

The range I used, as stated on TurntableNeedles, "about 3-5% shorter than the length of your actual belt path, which is the industry standard to provide correct tension, torque and playback without excess strain on your motor pulley."

Counter: Gear drive: Reel: Motor: Upper deck main: Upper deck motor:
Orig. thickness: 40 mils 35 mils 40 mils 52 mils 45 mils 40 mils
Orig. belt: 8.4" 4.5" 8" 7.1" 16" 3.8"
Measured path: 8.5" 4.5" 7.66" 6.66" 16.75" 3.94"
5%-3% reduced: 8.07-8.25" 4.28-4.37" 7.28-7.43" 6.33-6.46" 15.9-16.25" 3.74-3.82"
Best match: SBO8.0 SBO4.3 SBO7.2 SBT6.3 SBS16.0 SBO3.7
Best match(PRB): SCX8.0 SCY4.2 SCX7.0 SCQ6.2 SCX16.0 SCX3.5


All the "best match" lengths are available to buy but not as PRB Line codes. Had to pick slightly different sizes for some of those. Not that it matters, but that's what they would be.

Quick refresher: New belt style codes start with SB (square belt) and end with cross section code.
O ("orbicular") = 39 mils
S ("small") = 46 mils
T ("transitional") = 51 mils

Old-style PRB Line codes start with SC (square cut) and use random letters for cross section sizes.
The sizes are always marked as ranges, they differ as the belt length goes up.
Y = 35-39 mils. SCY4.2 is 35 mils.
X = 40-49 mils. SCX3.5 is 42 mils, SCX7.0 is 47 mils, and SCX16.0 is 48 mils.
Q = 50-64 mils. SCQ6.2 is not listed in their catalog yet I just bought one, so I'll measure it when it arrives.

The SBT6.3 is out of stock so I got an SCQ6.2 off ebay. The SBO3.7 is also out of stock, but found the same size in the next thickness up, so I got an SBS3.7.

36378539195_721d60e2c6_o.jpg

36378538825_d8afb0a76d_c.jpg

36378538485_42bb767e25_b.jpg

36378538735_4a6f3b3eb0_b.jpg
 

caution

Member (SA)
Put the unit back together tonight to test it out and still have some issues. I noticed the piezos are dead, but it's bright enough as it is. All the belts arrived and are installed, and the upper deck plays fine now except the head alignment is way off. The lower deck is seized even with new belts, so still some work to be done on that. I had to peel the old belts off some of the pulleys, and scrape and wipe a lot of crusty residue off of them.

The main board pulled off only if you detach the tuner needle, so I just taped the cord down.
I found it odd that the front lettering indicates "loudness" from 0 to 40 on the volume, but it's a basic 3-pin pot, no loudness tap :hmmm:
I pulled the function switch off but it uses butterfly style tabs, which are a beeotch to bend so I just gave it a good solid DeOxit drenching. Left alone the band and tape mode switches, and only put a drop or two of DeOxit into the volume and balance tracks with a soaked Q-Tip so I wouldn't disturb the shaft grease.

Pulled the FM mode and stereo mode switches, as well as the record bar. The upper deck's playback direction switch also came out for a clean (the pic points at the thing that switches it). I wiped them a few times with a 3000-grit Trizact polishing pad, and dabbed some DeOxit on them.

I noticed the record bar must have the spring pre-loaded into the shell before you insert the rest of it, then once it's together there is one side that has a smaller hook that lets you release it, and the only place it wants to go is back inside the case and around a post on the plastic slider. Then it's ready to go.

36327723282_4506fbdb06_h.jpg

36449858096_f5e7053457_h.jpg

36327723072_ebcfaff73f_h.jpg

36327728312_1092934e6b_h.jpg

36449859086_b1d13f408f_h.jpg

36327727702_c5b3b4b4a6_h.jpg

36327727252_dfa6dc0f1c_h.jpg

36449856376_aedb6263c9_h.jpg

36449856136_a4e084bed8_h.jpg

36449856046_554a343725_h.jpg

36327726302_611b5a248c_h.jpg

36327725872_445a8581d0_h.jpg

36327725952_60f0be7576_o.jpg

36449855546_fa3a92072c_o.jpg

36327725452_c50e503bb0_o.jpg

36327725712_9b697251e5_o.jpg


I have a few more pics but when I click 'post' it treats it like an edit to the previous comment, and I've already maxed out at 20 images on it. As soon as someone leaves a comment I'll post the rest of 'em.
 

caution

Member (SA)
I think those mating connectors were all excited from the lube :lol:

The drive gear was refusing to exit the mode that pushes the heads up. After the motor was out of the way I could wiggle some things I couldn't before, and that caused something to spring back into its normal position, and I could properly actuate FF and rewind and record.

I'm really glad it wasn't worse, there's a lot going on in there. It does have this issue where it won't go back to playing if you press FF or rewind, you have to stop and press play to restart, but not bad enough worth fixing. I also noticed a bit of slowdown on rewinding, so the 6.2" belt I used for the motor may be too tight and really needs to be 6.3 or 6.4. It might improve as it stretches a bit. It's a thick belt so it may not be as tolerant to size differences.

After you remove the control board screw and straighten the tabs and slide that off, and pop off the record bar spring, you need to remove a zip tie holding the wires together near the motor for more maneuverability. Unfortunately the control board must be out of the way to get any farther inside. First unplug the connector for the tape heads, and then get your soldering iron warmed up for four wires that must to be desoldered: three going to the solenoid and power switch, and one to the motor ground wire. I added some connector ends to make it 100% pluggable. I had to drill out the hole for the motor ground wire so I could fit the post in there, and slice down the sleeve a bit so it wouldn't hit the motor bracket once reassembled.

Now you have to remove the control board bracket, which also holds the tape counter and tape run LED stuff. There is a screw on the front and on the back. Also remove the counter belt. Once that is set aside you can pull off the motor bracket. It was a bit hard working around the wires going to the leaf switch up by the record tab sense lever so I unscrewed that. Then it was a matter of removing three screws and two springs. First the springs. There is one for the eject slider and one near the center of the bracket. The first screw is next to this second spring, and the other two are on the ends of the bracket. Near these are indentations the bracket uses for proper positioning, so you might have to wiggle it... just a little bit...woop hang on :breakdance:

All switches pots and decks are working great but a few things still remain but will have to leave. Nothing locks on FM at all, only the strongest stations play in stereo and even then it's fuzzy; all the AFC switch does is act as a mute. I think the tape run LED mechanism is dirty because it will stop and start again as a tape plays, and flickers. FF and rewind looks fine on it though.

I put an LED on the dial needle, the crosshair looks cool so I thought why not try and light it up a bit.

36550079175_a15e31bb13_h.jpg

36550078675_1f8108e154_h.jpg

36550078825_87f1ac0139_h.jpg

36550078535_f66f8d4f71_h.jpg

36381757972_ab274792cb_h.jpg

36381757802_7036c0370a_b.jpg

36381757682_24569c5e6f_o.jpg

36381757102_679c23037c_h.jpg

35715143194_b95ac43fee_h.jpg

36153330090_430bf794a2_h.jpg

35740691173_627618bd05_h.jpg

36153329400_05c9591208_h.jpg

35740690523_5e7c208dc1_h.jpg

35740690233_75582b41d3_h.jpg

36153328090_81b68d68ab_h.jpg
 
  • Like
Reactions: DPaignall

docs

Member (SA)
Epic Eric, great work all round :bow:


caution said:
those fragile black things that are difficult to remove without trashing. Luckily I had a few intact ones in that size from other teardowns, so when the second one went flying into air never to be seen again, I had a backup :-)
Yeh, those things go ping and thats it, harry potter makes them disappear.
 
Status
Not open for further replies.