Hey Guys,
Much like many people who have aspired to dream of a Sharp VZ2000....I too looked for a perfect, working VZ but wasn't ever able to find one.
As we search for these beast's we shy away from the ones missing control switches, but now you can get those made from Bredgeo, so there is no need to pray for a unit with all of those....
We search and hope for one that has a working turn table, but so many members have shown that not only can you still get the main drive belts, you can fix them yourself.
One of the other things we avoid like the plague is LARGE scratches on the front turn table plastic.....WELL NOT ANY MORE!
I bought two VZ2000's in Japan and brought them home. One was in very good condition and the other so so
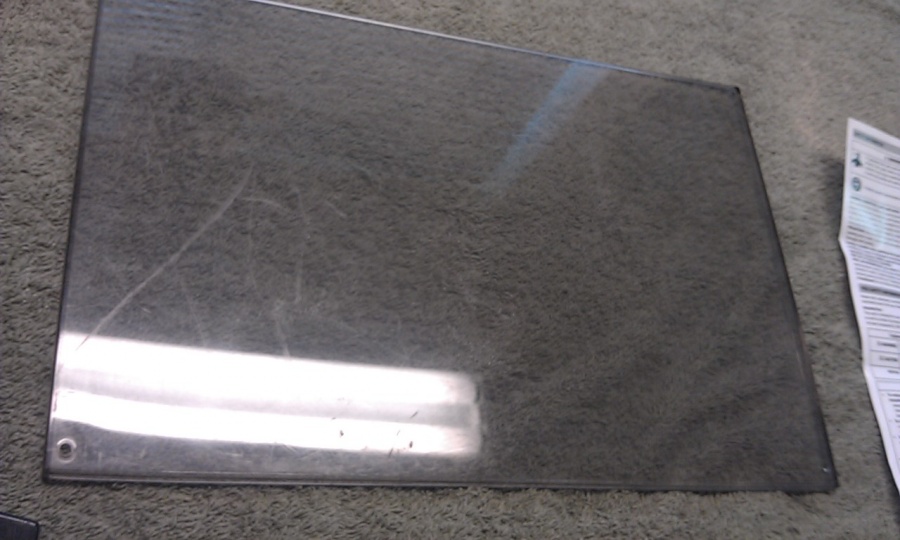
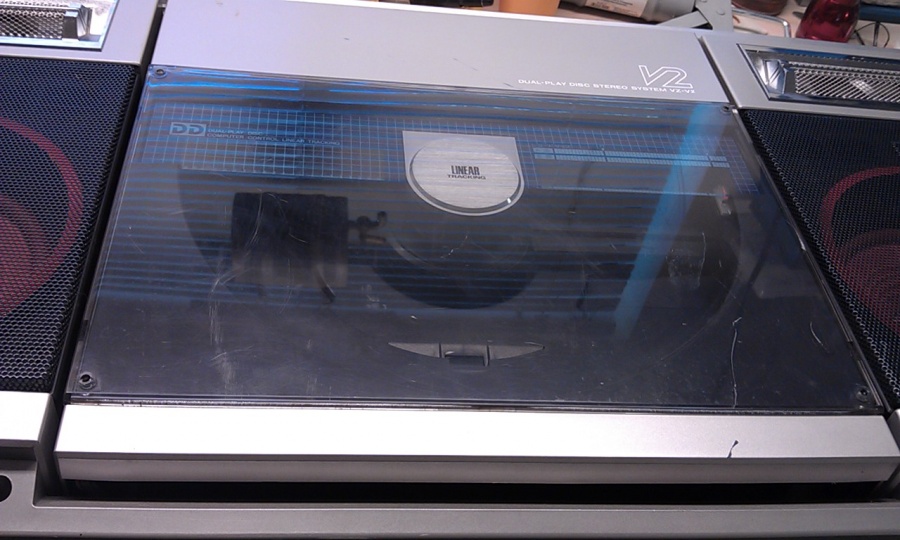
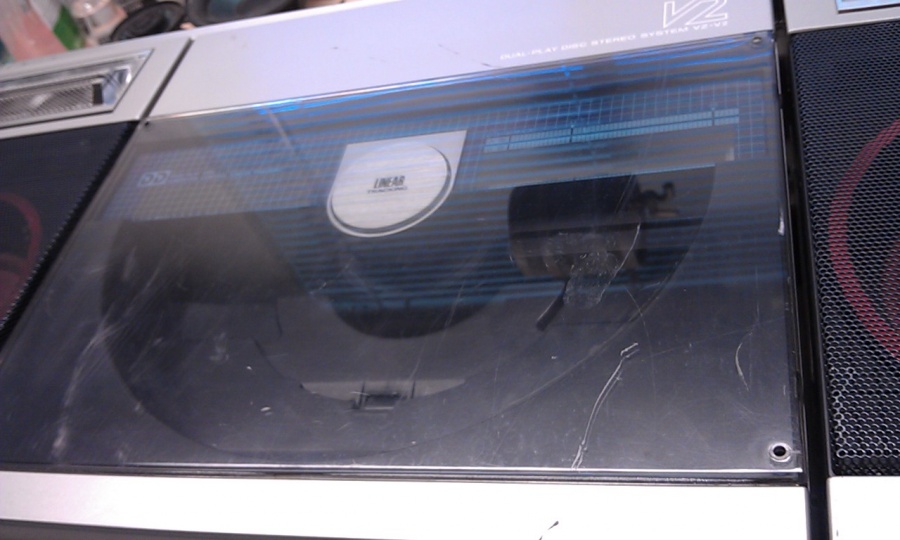
The biggest problem with the one below was it had some GNARLY scratches in the turn table door plastic
The thing is, if you carry this radio with the front facing your leg, it's going to get scratched, there is just no way around it. This means the vast majority of these radio's is going to have scratches in them.
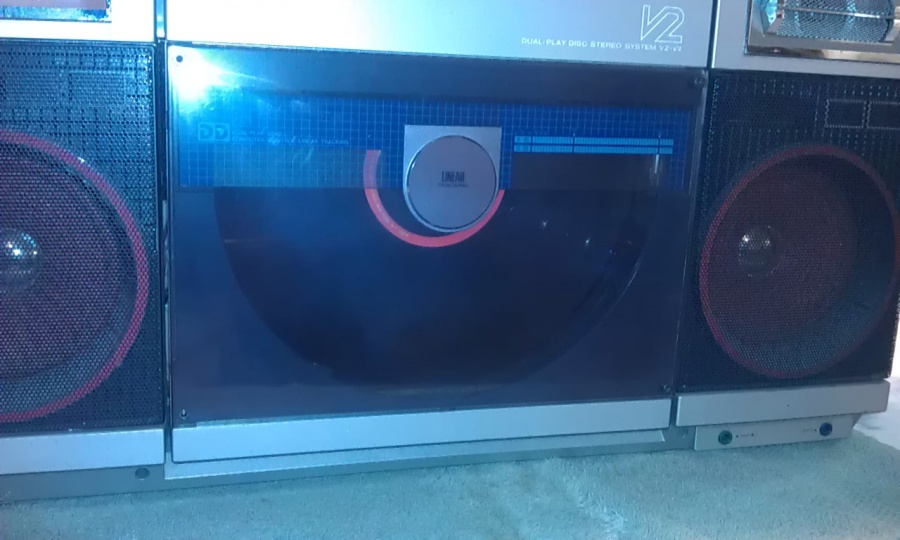
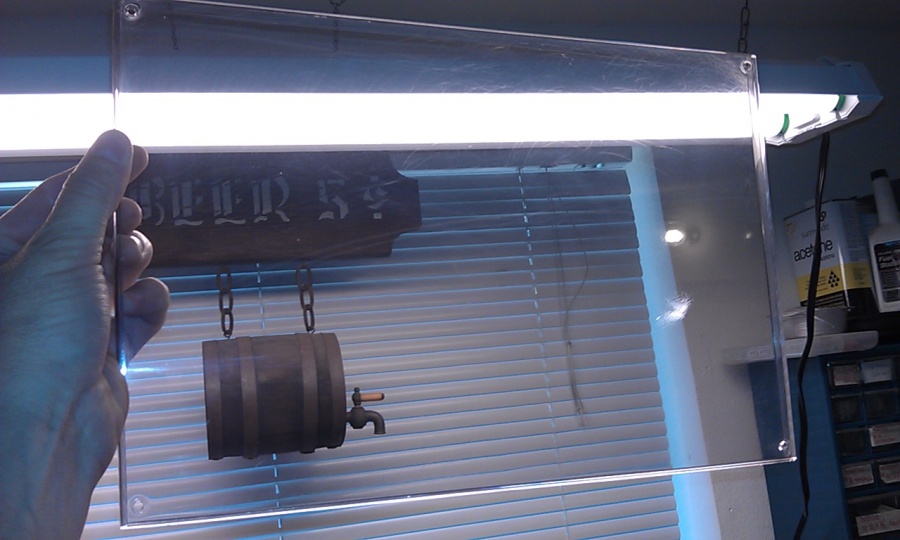
It's hard to tell from this picture, but there are some nasty scratches in the front....
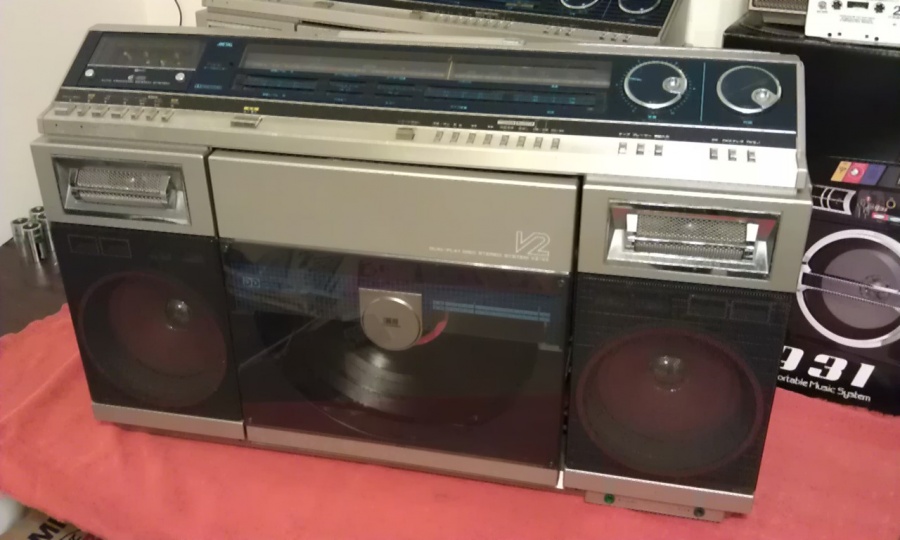
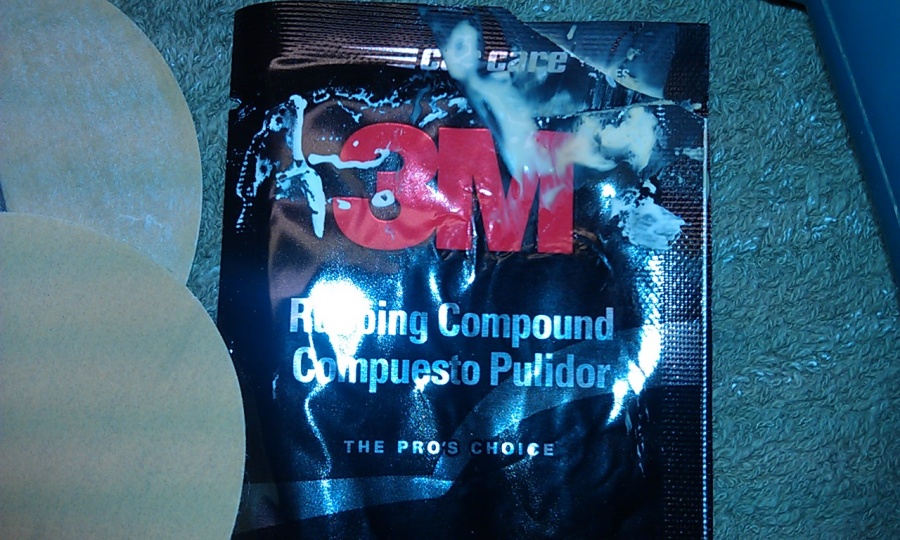
So, I have a kit that is used for cleaning and brightening yellowed headlights on your car made by 3M.

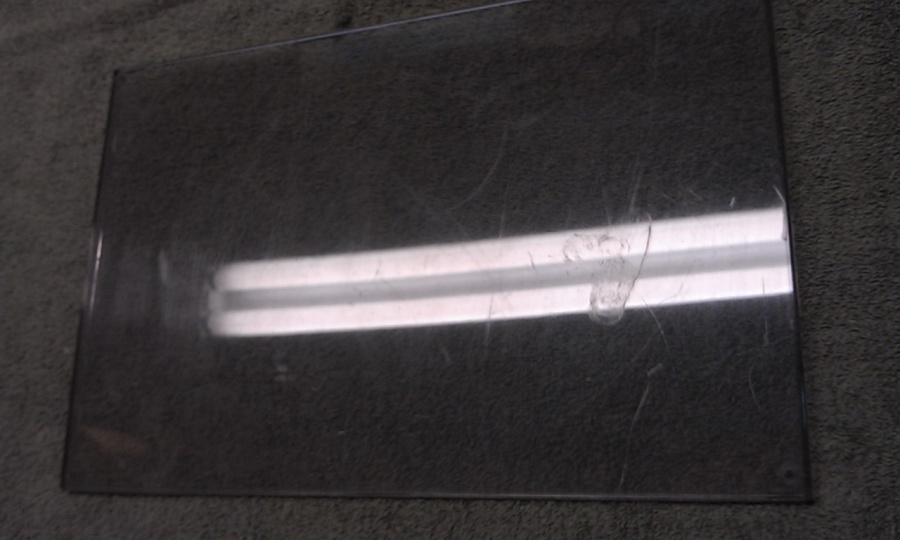
Here is the plastic I started with....
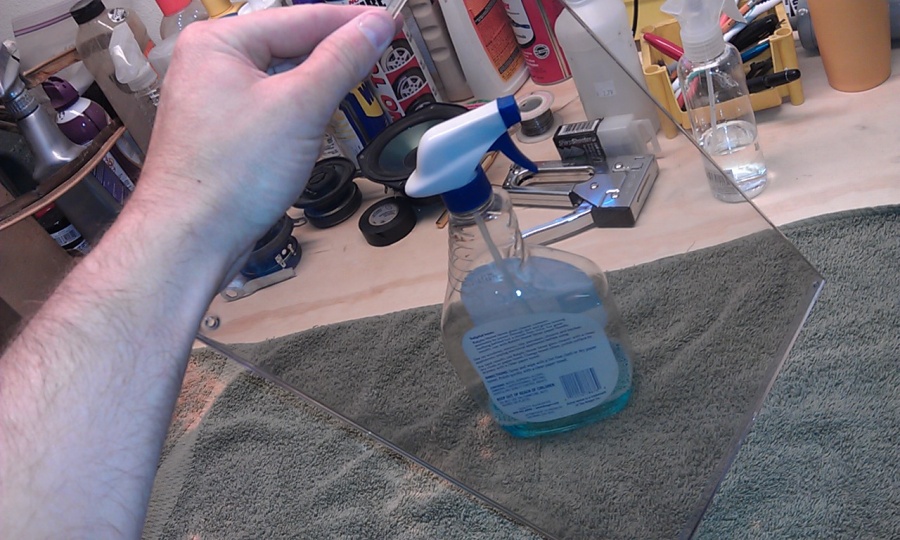
These kits are easy to use, you start out with an abrasive and work your way across the surface.

Each pad uses finer and finer sand paper....
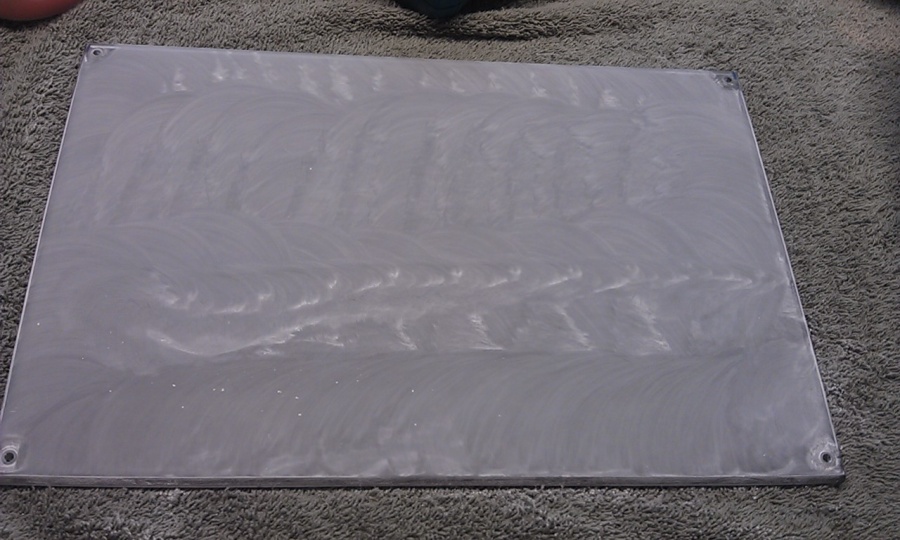
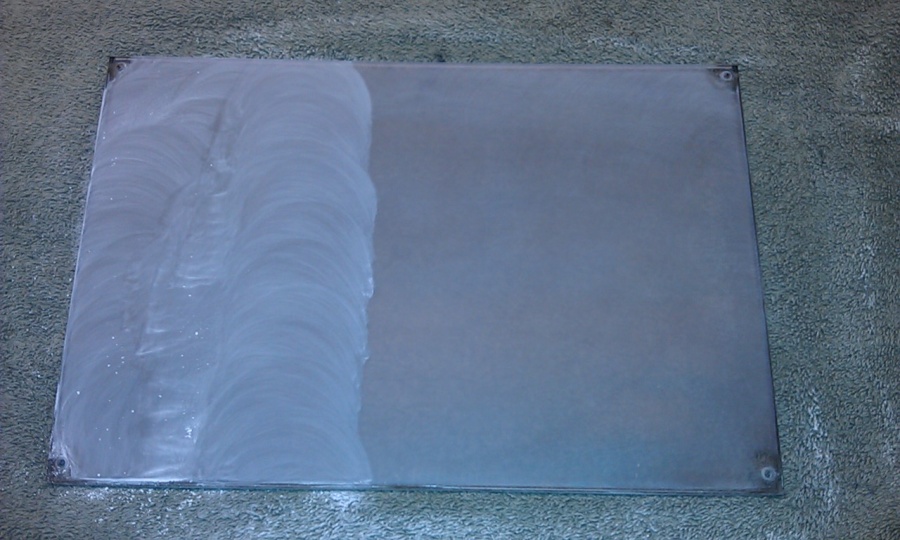
The first sanding removes the big scratches....
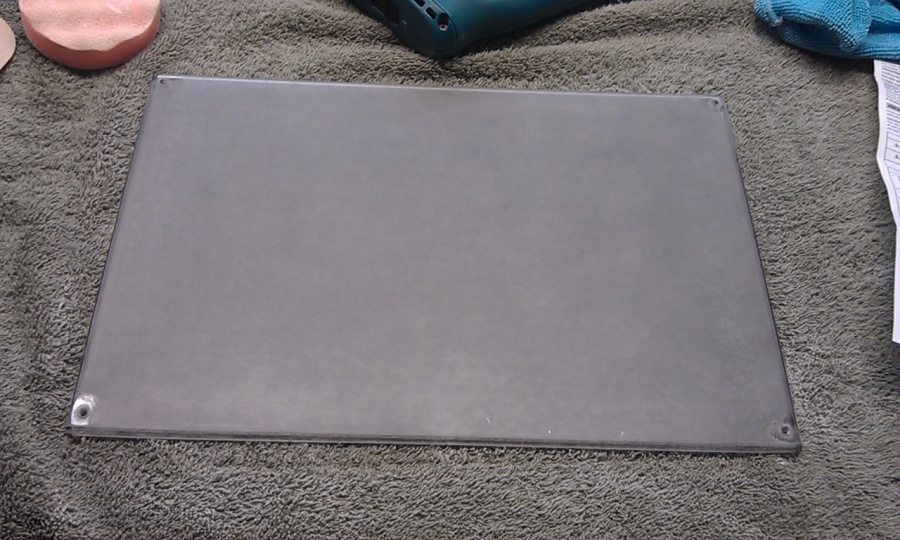
The next one smooths it more....you can see it's still hazy, but no scratches.
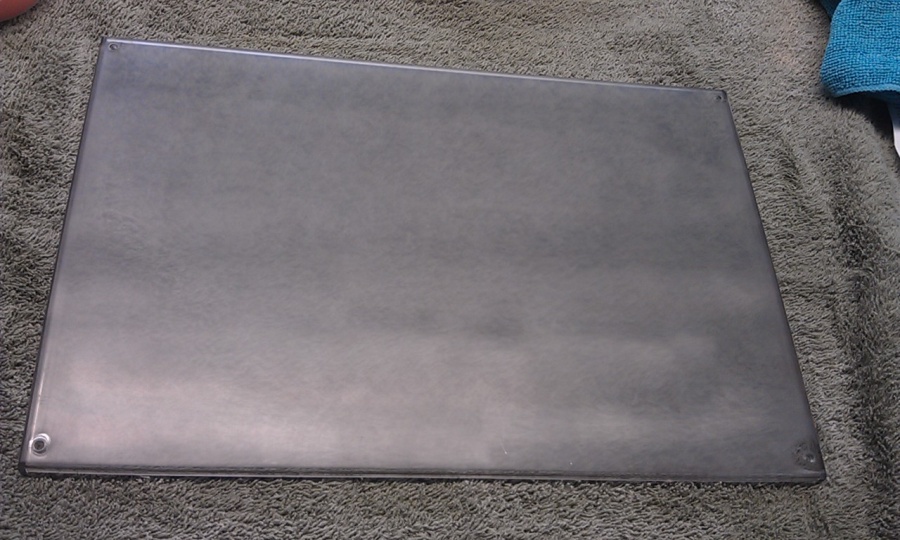
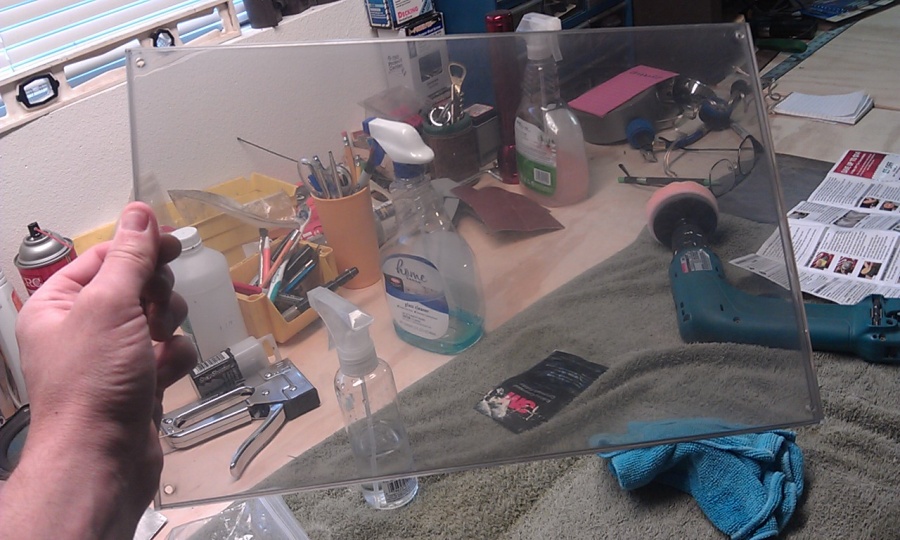
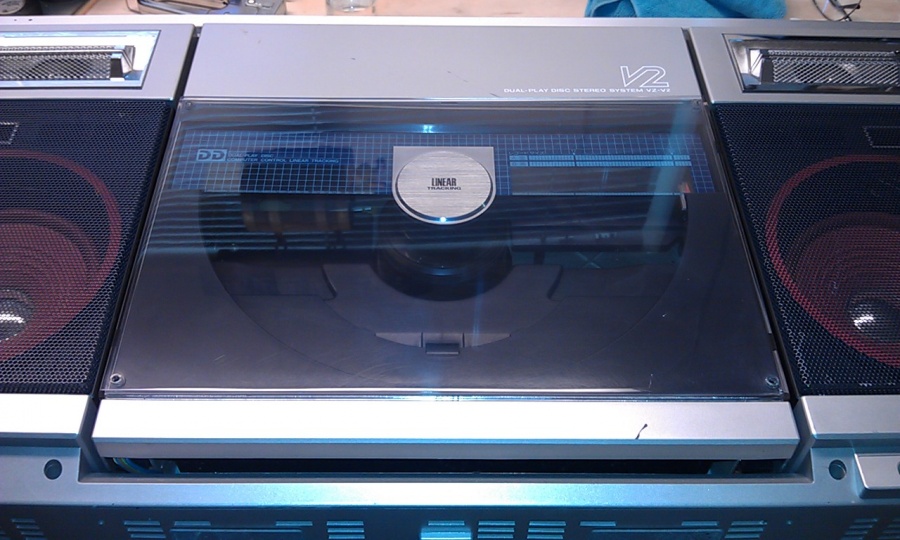
Then after the final polishing with the pad and cream....It looks really good. I even did the inside with just the polishing cream. It really made it clear.

Much like many people who have aspired to dream of a Sharp VZ2000....I too looked for a perfect, working VZ but wasn't ever able to find one.
As we search for these beast's we shy away from the ones missing control switches, but now you can get those made from Bredgeo, so there is no need to pray for a unit with all of those....
We search and hope for one that has a working turn table, but so many members have shown that not only can you still get the main drive belts, you can fix them yourself.
One of the other things we avoid like the plague is LARGE scratches on the front turn table plastic.....WELL NOT ANY MORE!

I bought two VZ2000's in Japan and brought them home. One was in very good condition and the other so so

The biggest problem with the one below was it had some GNARLY scratches in the turn table door plastic

The thing is, if you carry this radio with the front facing your leg, it's going to get scratched, there is just no way around it. This means the vast majority of these radio's is going to have scratches in them.
It's hard to tell from this picture, but there are some nasty scratches in the front....

So, I have a kit that is used for cleaning and brightening yellowed headlights on your car made by 3M.


Here is the plastic I started with....


These kits are easy to use, you start out with an abrasive and work your way across the surface.

Each pad uses finer and finer sand paper....

The first sanding removes the big scratches....

The next one smooths it more....you can see it's still hazy, but no scratches.

Then after the final polishing with the pad and cream....It looks really good. I even did the inside with just the polishing cream. It really made it clear.





 . NEVER PASS UP A BOOMER WITH PLEXI SCRATCHES!
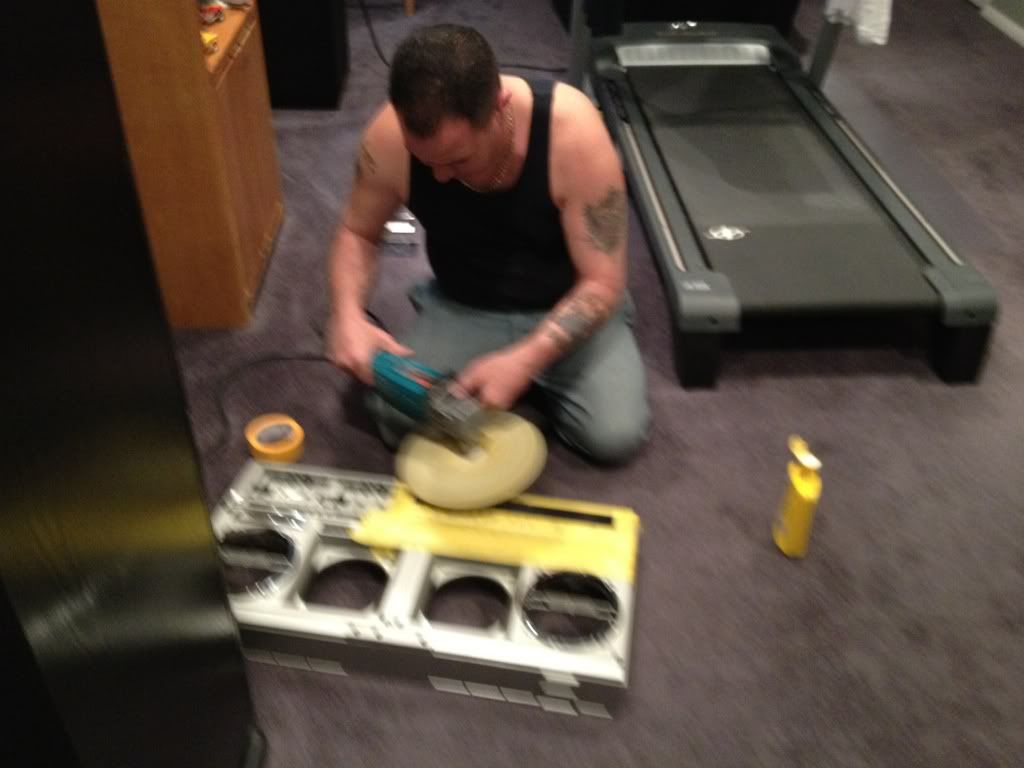

 ) But Never Again!

 This is what the forum is about. The free exchange of techniques & iinfo. Too bad some members want to charge money for resources instead of sharing for free.