So Melly owns this fine example of the Montgomery Wards Airline GEN-3996 boombox.
But........... it has NO line-in, so NO aux playback feature.

We can fix that. We have the technology. So you know what comes next, right?
Here we go.
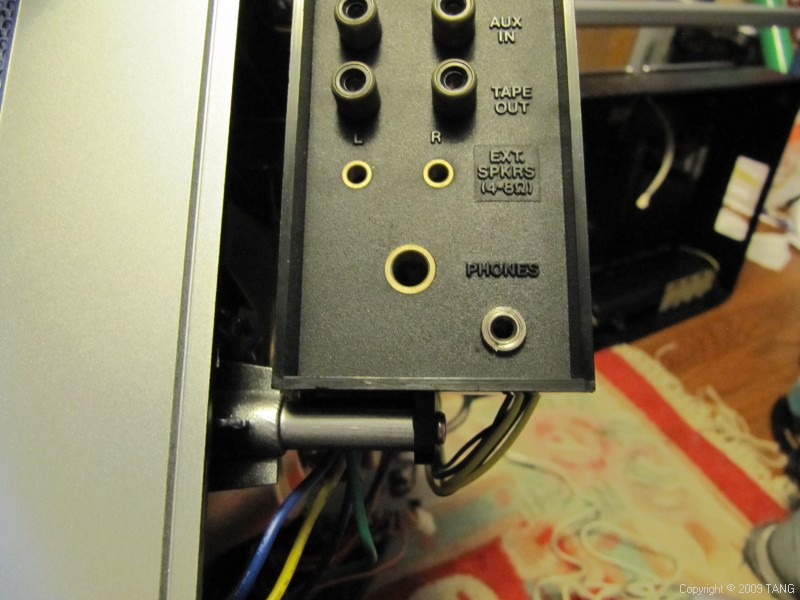
FIRST, here is the side panel where the line-in jack will be installed, right below the PHONE jack.

Here is the backside of the I/O panel where the jack will be installed.

The yellow and green wires will be removed from the connector (which plugs into the tuner). These wires terminate at the amp. New color correct yellow/green wires with new connector matching crimp connectors will be installed into the connector for a factory complete appearance. The new wires will go to the jack, which then returns to the amp through the old wires. Since the old wires are too short, the pigtailed ends (with connectors) will be inserted into new molex connectors with matching headers to extend the wires.

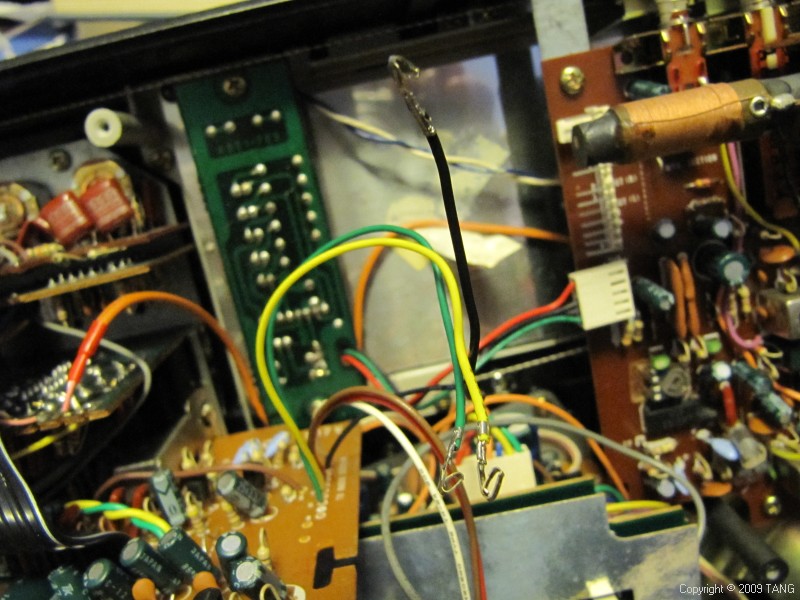
Here are the pigtailed amp wires. No wires were [strike]harmed[/strike], err cut in this retrofit project, although a new ground wire will be soldered onto the bottom solder pad of the amp where the wire array is located.

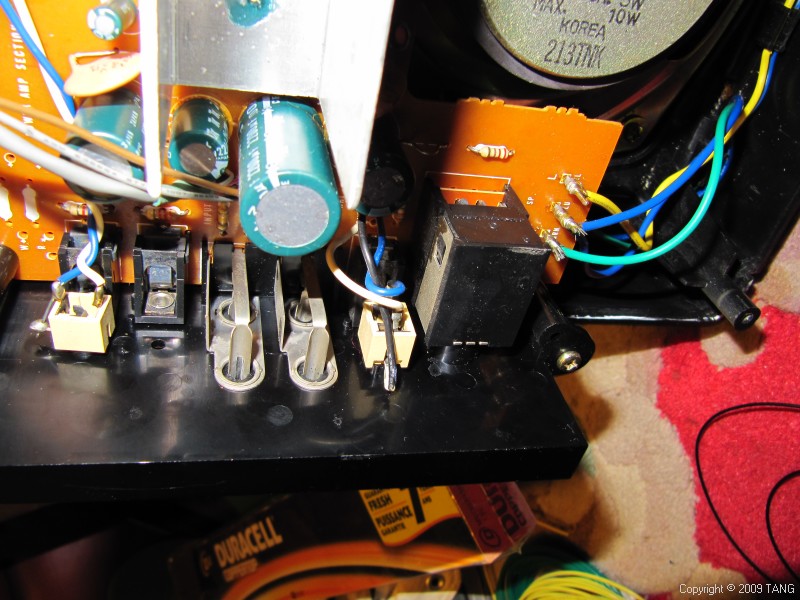
Newly installed jack on the left hand side, with the green/yellow wires

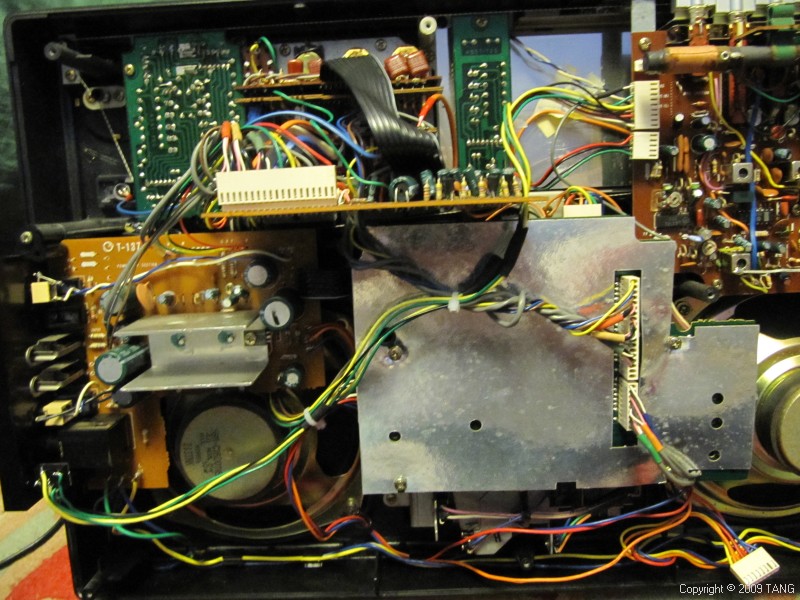
A place for everything, and everything in it's place. Ahh, just how I like it. Who wants to tell me that the install doesn't look 100% factory?

New jack installed. What it looks like. A handheld label printer would be real handy right about now to label the new line-in jack.

ALL DONE.

WATCH IT IN ACTION:
[youtube]puAClZKN5nA[/youtube]
But........... it has NO line-in, so NO aux playback feature.


We can fix that. We have the technology. So you know what comes next, right?
Here we go.
FIRST, here is the side panel where the line-in jack will be installed, right below the PHONE jack.

Here is the backside of the I/O panel where the jack will be installed.

The yellow and green wires will be removed from the connector (which plugs into the tuner). These wires terminate at the amp. New color correct yellow/green wires with new connector matching crimp connectors will be installed into the connector for a factory complete appearance. The new wires will go to the jack, which then returns to the amp through the old wires. Since the old wires are too short, the pigtailed ends (with connectors) will be inserted into new molex connectors with matching headers to extend the wires.

Here are the pigtailed amp wires. No wires were [strike]harmed[/strike], err cut in this retrofit project, although a new ground wire will be soldered onto the bottom solder pad of the amp where the wire array is located.

Newly installed jack on the left hand side, with the green/yellow wires

A place for everything, and everything in it's place. Ahh, just how I like it. Who wants to tell me that the install doesn't look 100% factory?

New jack installed. What it looks like. A handheld label printer would be real handy right about now to label the new line-in jack.

ALL DONE.

WATCH IT IN ACTION:
[youtube]puAClZKN5nA[/youtube]


 oh....and welcome back


 ...fantastic work Norm! ...and I'm not saying that just because it's mine, but I am glad it is mine...
  ...so very, very, very, very much.

